When it comes to hardwood floors, there’s always the possibility of gaps appearing. The reason for this is because of fluctuations in temperature and humidity.
Another reason gaps may form is that when a hardwood floor is laid, the boards may still contain some water content. As this water dries out, the floorboards will shrink.
If you’re experiencing this problem, you may be wondering how to fill gaps in wooden floors. It’s possible to fill the gaps in your flooring in a variety of ways. But first, you should determine if it’s necessary.
So stick around as we discuss why these gaps are appearing, whether it’s necessary or wise to fill them, and of course, how to fill them.
Why do Gaps Appear on Hardwood Floors, and Should I Fill them?
As briefly explained above, most gaps appear on hardwood floors due to the change in temperatures and humidity.
Because the boards are made from solid wood, they will expand in the summer when the moisture content is high and contract during the winter months when the moisture content drops.
This is something you need to look out for. If this natural movement is causing gaps in your wooden floor, you should leave them alone.
Wood needs space to expand and contract. When you fill this space with something like wood filler or rips of flooring, you’re taking away the floor’s ability to move. Having no space to move can cause the wood filler to crack and the floor to buckle.
Permanent Gaps
If you’re 100% sure that the gaps are there all year round, then it’s safe to fill them. Hardwood flooring can develop gaps that are permanent. These types of gaps may get slightly bigger or smaller during different seasons, but they will be ever-present.
The best thing to do is to check your hardwood flooring in the humid season when the gaps are the tightest. If your gaps are roughly 1/25 inch – 1/16 inch wide, then you have a problem that should be fixed.
Methods for Filling Hardwood Floors
There are quite a few different methods for filling hardwood floors. Below are three of the easiest and most used: caulking, wood filler, and wooden strip.
Before choosing your approach, observe your floor to determine whether your gaps expand or shrink. If the cavities in your floor fluctuate, then use a flexible caulking sealant.
If the gaps stay the same all year round, then use a wood filler or fill them with strips of flooring.
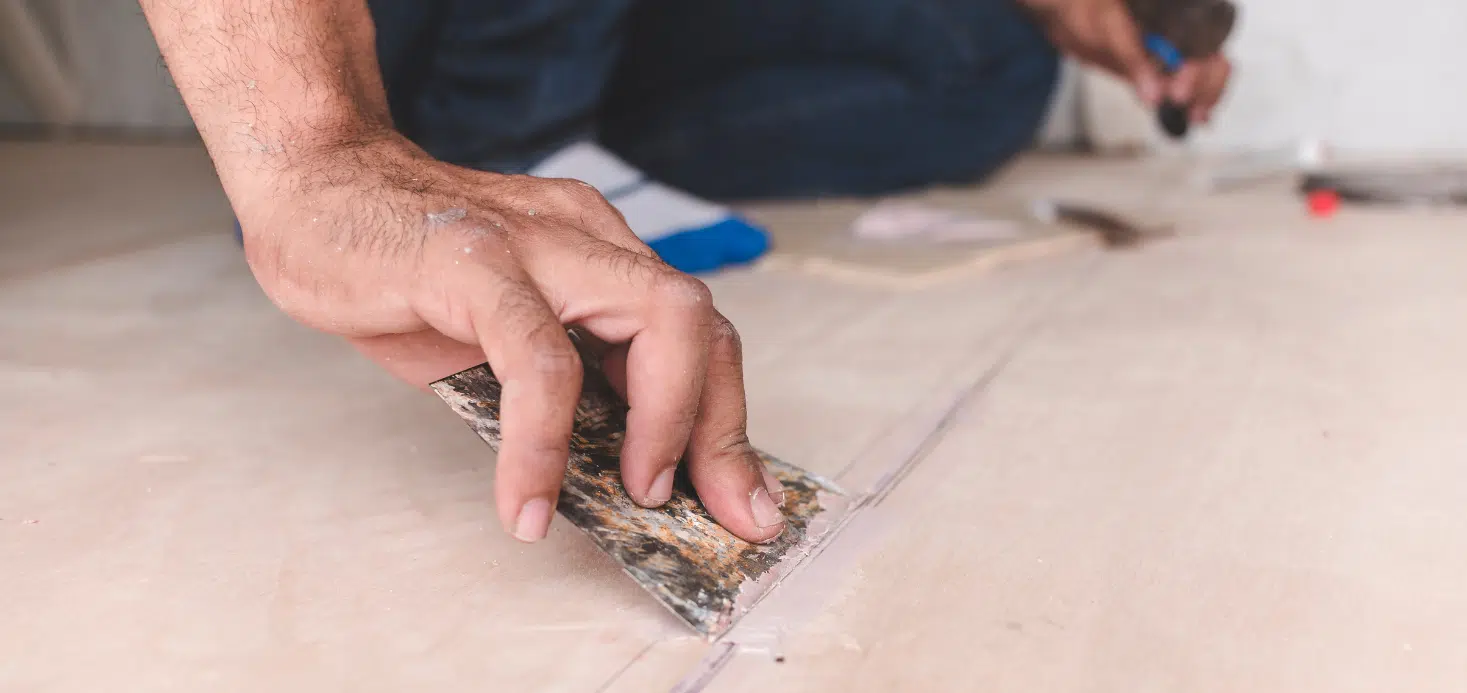
The Caulking Method
This technique is great if your gaps vary in width throughout the year. Using a flexible sealant will allow the boards to move, which will stop your flooring from buckling and rising.
For this method, be sure to select the sealant color appropriate to your hardwood flooring.
What you will need:
- Vacuum
- Caulking gun
- Spray bottle with dishwashing liquid
- Ice cream sticks or caulking tool
- Flexible sealant (color matched to your flooring)
- A rag or cloth
Instructions:
- Vacuum all gaps to ensure that they are free of dirt and dust.
- Apply sealant to all necessary gaps, ensuring to completely fill all gaps until the sealant is slightly overflowing.
- Spray dishwashing liquid over the sealant, making sure to wet any areas that you don’t want to stick.
- Spray your hands and ice cream stick or caulking tool with the dishwashing liquid.
- Lay your ice cream stick or caulking tool flat on the flooring and carefully run it over all sealant. Wipe any excess onto your rag as you go.
- Use dishwashing liquid and the rag to clean up any sealant that may have spilt on your flooring.
- Leave the sealant to dry completely for 24 hours, ensuring it is not stepped on or touched.
The Wood Filler Method
This method is another great technique for filling floor gaps. However, this process is only recommended if the cavities in your floor don’t fluctuate. Wood filler isn’t flexible and will crack if the gaps expand and contract.
What you will need:
- Vacuum
- Wood filler (color matched to your flooring)
- Spatula or putty knife
- Rag or cloth
- Sandpaper
- Masking tape
Instructions:
- Vacuum out all gaps ensuring they are free of dirt, debris, and dust.
- Apply masking tape parallel to all gaps, this will guarantee that the wood filler doesn’t stick anywhere unwanted.
- Using your spatula, apply the wood filler to all essential gaps. Ensure the wood filler sits slightly higher than the gap to then be sanded down to flush.
- Allow the wood filler to dry for the necessary time indicated on the back of the packaging.
- Once the wood filler has dried completely, use the sandpaper to carefully sand the filler down to flush. If necessary, re-apply the masking tape, as this will make sure you don’t scratch the floorboards.
- After sanding is complete, use the vacuum to clear and dust away. You can then use the rag to clean over the filled gaps and any flooring that is dirty.
The Wooden Strip Method
The following method is best suited for wide permanent gaps. This approach to filling floorboard gaps will require you to cut strips of flooring that match your current floor. This works best with off-cuts or leftover flooring.
Be certain to estimate how much flooring you’ll need by measuring the thickness and lengths of the gaps in your floor.
What you will need:
- Color-matched flooring.
- A table saw or a track saw.
- A rubber mallet.
- Wood glue.
- Tape measure or ruler
- Pencil
- Notepad
- Rag or cloth
Instructions:
- Firstly, vacuum out any dirt, dust, and debris that is in the gaps.
- Measure the length and width of each gap and write it on your notepad. Make sure you write a small number or symbol next to each gap corresponding to your measurements.
- Set up your table saw or track saw and cut the strips of flooring. Be sure to wear the appropriate PPE when using these machines.
- Once you have cut your strips, sand down both bottom edges the full length of the strips. This is just to take the sharp corner off, which will help when hammering in the strip.
- Apply wood glue carefully into the gaps between the boards and up against the edges.
- Gently hammer in the strips, being careful not to snap or crack them.
- Wipe up any excess glue using a rag or cloth.
- Allow the glue to dry completely for 24 hours before walking on the floor.
Summary
Filling wood floor gaps is a DIY skill everyone can pick up, and it can be done in multiple ways. It’s important to work out what method is most suitable for your type of gap before diving into the job.
Read more about choosing the best wood floor fillers.
If you think that the gap that you’re dealing with is above your skill level, it may be best to call in a professional. They will be able to assess the situation and advise you on the best course of action, which will give you the assurance that the job will be done to your standards.