If you’re in the market for a new floor and are looking to install it yourself, you may be wondering how to level your floor. Having a subfloor with humps and valleys is very common and can be caused by a range of things. The most common causes for an uneven subfloor are a poorly poured slab, movement or delamination of plywood or OSB boards, age-related shifting, structural issues, and cracked joists. Some of these are quick and easy fixes you can do yourself, whereas others will require a professional.
If you understand the issue, leveling a floor can be a great task for an enthusiastic DIYer. But there’s quite a bit to consider before jumping into this task.
In the following article, we will discuss how to define and fix certain types of subfloors, such as wood and concrete. Plus, we’ll look into whether you can fix it yourself or if it’s time to call in a pro.
What Type of Floor are You Installing?
The first step in leveling a subfloor is determining what floor you will install over the top. The reason for this is that different floors will require different prep work. Some floors such as vinyl planks require less strenuous leveling, as they are flexible and can be laid over slight imperfections. When it comes to solid hardwood planks, you will need to ensure the floor is completely level, as any imperfections will stand out and make installation a nightmare.
Identifying and Fixing Flooring Issues
Leveling a floor can be a relatively simple DIY project. The following information will help you determine if your substrate is uneven, where the imperfections are, and how to fix them, so you can avoid unsatisfactory results when installing rigid flooring.
Finding High and Low spots
The next step in leveling your floor is finding the low and high spots. There are quite a few ways to do this, but I’ll quickly explain two of the best. Both concrete and OSB or plywood subfloors will use the same method of finding high and low spots, but have completely different ways of leveling.
Using a level or straight-edge
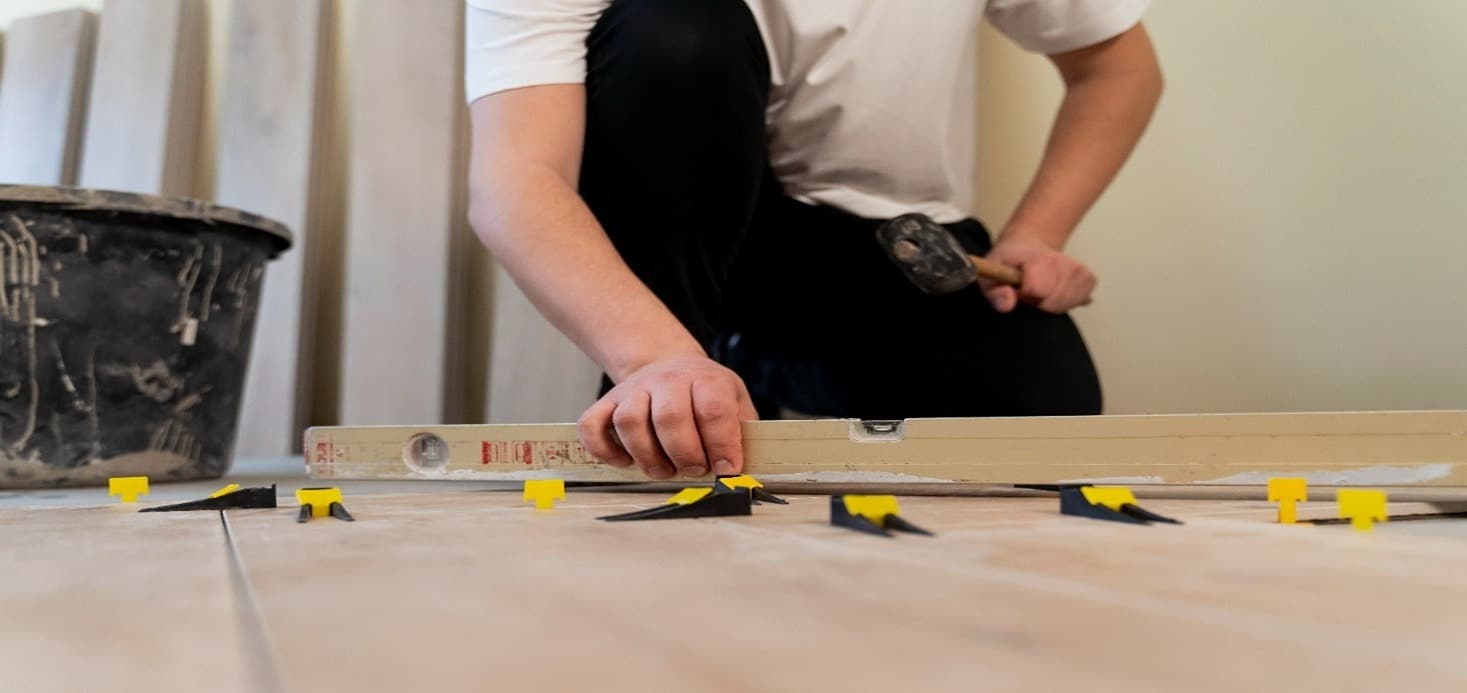
The most common way of finding high and low spots in your subfloor is by using a straight edge or a level. I recommend using a six to ten-foot straight edge or a 6-foot level. Of course, if your room is smaller you will have to scale both of these down to suit.
To find high and low spots, place the level on different areas of the floor, and notice if it lays flat in all spots. If a gap appears under the center of the level, it indicates a low spot. If the level rocks back and forth, it’s a sign of a high spot. Once you have located these areas, mark them with either a pencil or Sharpie. I like to use an L and H to mark the various high and low spots.
Using Marbles
For this method of finding high and low spots, you only need a handful of marbles. Place the marbles in various spots in the room and watch them roll. If they keep rolling to the same side of the room, that side is lower than the rest of the floor. If they roll to other areas of the room and stop, those areas are likely low points that you probably can’t see with the naked eye. Once again, use your pencil or sharpie to mark these areas.
When to Call in a Professional
Knowing when it’s time to call a professional and not continue the job yourself is very important. Leveling a subfloor can expose different types of damage you may not have seen before starting this task.
If you see any of the following, it’s a good idea to call a qualified carpenter or a structural engineer:
- Broken joists or beams showing signs of rot, or cracking
- Termite damage
- Cracks in foundation walls
How to Level a Wood Subfloor
Things you will need:
- Orbital sander
- 60 or 80-grit sandpaper
- Electric planer
- A drill or impact driver
- Screws, long enough to penetrate through your subfloor
- Vacuum
- Self-leveling compound
- A bucket
Leveling a Wood Subfloor
- On any high spots you’ve marked, check for screws and nails. You will either need to remove these or drive them down, the reason for this is that either the planer or sander will be running over these areas. If you hit a screw or nail with either machine, it will break the planer blades or rip the sanding pads.
- The next thing to do is to drive a few new screws into any high points. This is because sometimes the subfloor is not screwed down properly and can be leveled with a few screws.
- If you still have high points, you will either have to sand or plane the floor. If the high points are significant, I recommend running the planer over these areas and then finishing it with the sander.
- Once you’ve finished leveling your high points, sweep and vacuum the entire floor.
- As for any low spots, you will need to mix up the self-leveling compound in the bucket. Refer to the manufacturer’s instructions on how to do this.
- Next, simply pour the compound around any low spots until they are filled. Because the mixture is a liquid, it will level naturally.
How to Level a Concrete Subfloor
Things you will need:
- Safety glasses
- Respirator
- Angle grinder or floor grinder
- Diamond grinding wheel
- Vacuum with HEPA filter
- Plastic sheets
- Tape
- Self-leveling compound
Leveling a Concrete Subfloor
- Before beginning grinding, tape the plastic sheets over any doorways and windows. This will stop the flow of concrete dust entering the rest of the house.
- Put on your respirator and safety glasses.
- When using a handheld grinder, have someone help by holding the nozzle of the vacuum close to the grinder to capture the dust as you work. Some grinders come with vacuum attachments, eliminating the need for a helper. If you’re using a floor grinder, this will come with a vacuum system in place.
- Gently work your way through the room, running over the high points. Remember not to push too hard and allow the machine to do the work.
- As you’re working through the room, check your progress with a level or straight edge.
- When you have finished grinding down the high points, sweep and vacuum the floor.
- For the low spots, you will have to mix up the self-leveling compound. Follow the instructions on the packaging to ensure the right ratios.
- Once you have the mixture ready, carefully pour it onto the low spots you have marked. The liquid mix will naturally settle level.
Summary
As you can see, leveling an uneven subfloor can be either an easy or complex task. This all depends on why the subfloor is uneven in the first place. If it’s due to natural movement, then it’s generally an easy fix. If it’s because the joists are rotting or the foundation is shifting, you will need to call a professional.


