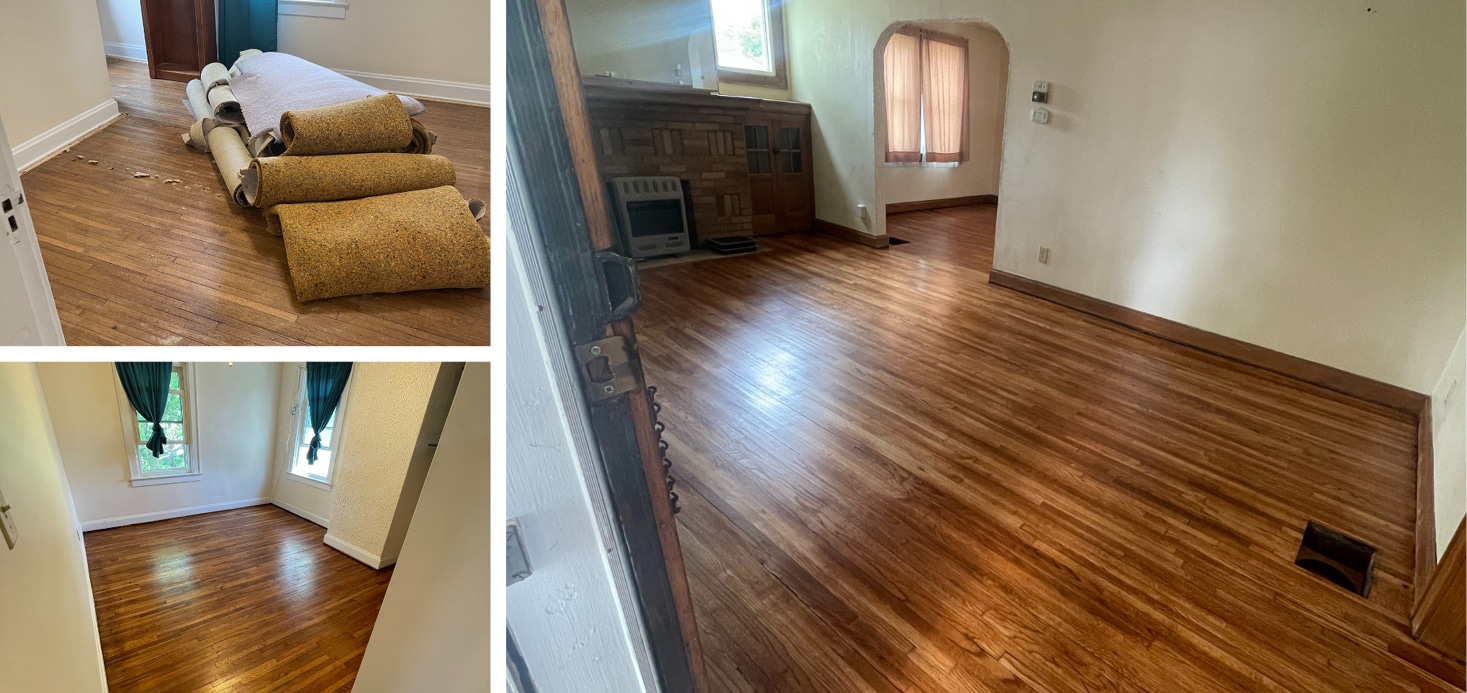
This recent flooring project features white oak hardwood floors: before and after.
Teresa and Ryan bought a home built in the 1920’s with beautiful, white oak hardwood installed in the kitchen, main room, bedroom, entry way, and stairs. The floors had never been finished. They were always covered with carpet, vinyl, and laminate. When they bought the home, they knew the floors were wood underneath but weren’t sure about the condition. Their goal was to transform the space, so that it would become a place of their own and feel more like home.
Ryan is a woodworker, specializing in custom furniture and Teresa does social media and advertising for Panel Town and The Reclaimed Barn. Together, they could have made it a DIY project to save money or hire a contractor. They went with a contractor to save time and get the best results as fast as possible before moving into the home.
Teresa took pictures before, during, and after the floors were finished.
Before Sanding
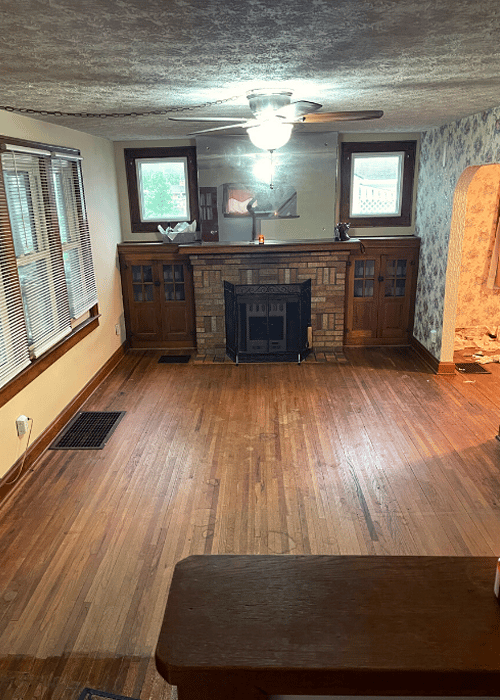
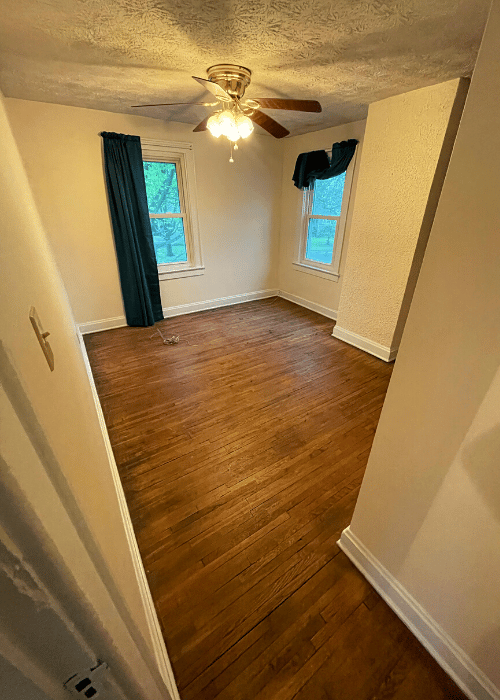
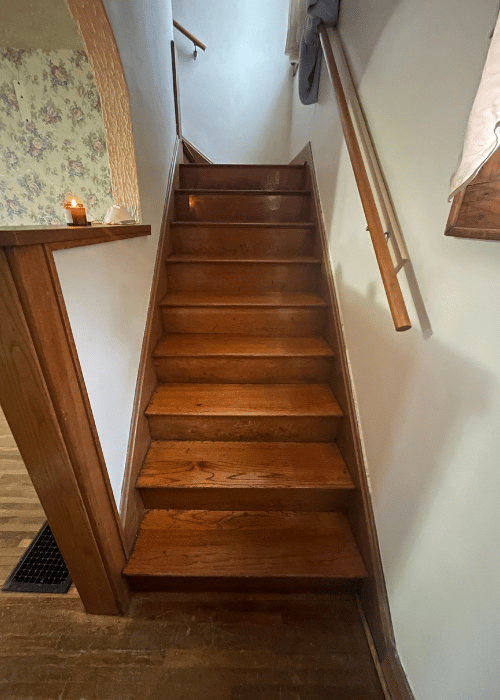
See what the floors looked like after removing the carpet and prior to sanding.
Removing Carpet From Hardwood Floors
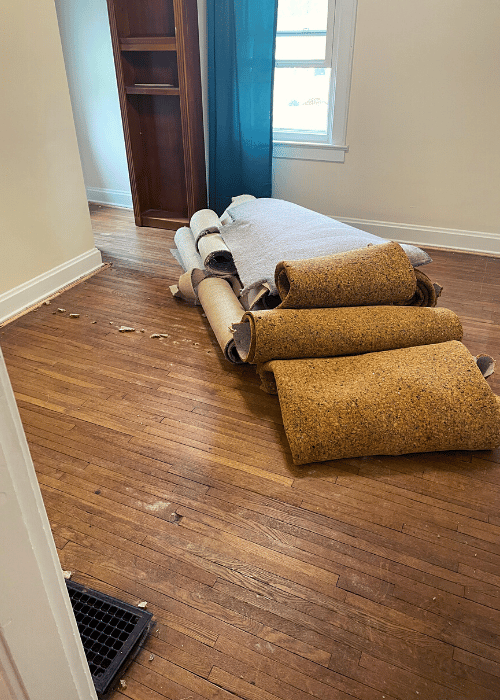
The first step was to remove all of the carpet covering the hardwood.
Carpet Removed, Wood Cleaned, and Ready to Sand
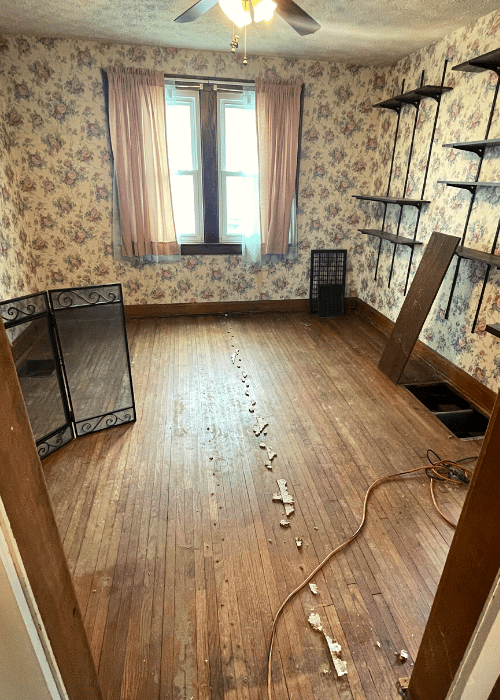
After removing the carpet , cleaning, and vacuuming the floors, and taking out the quarter round trim, the wood was ready for sanding.
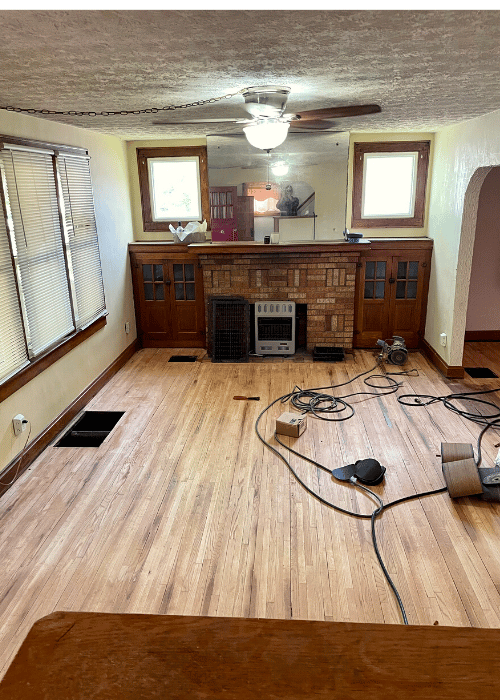
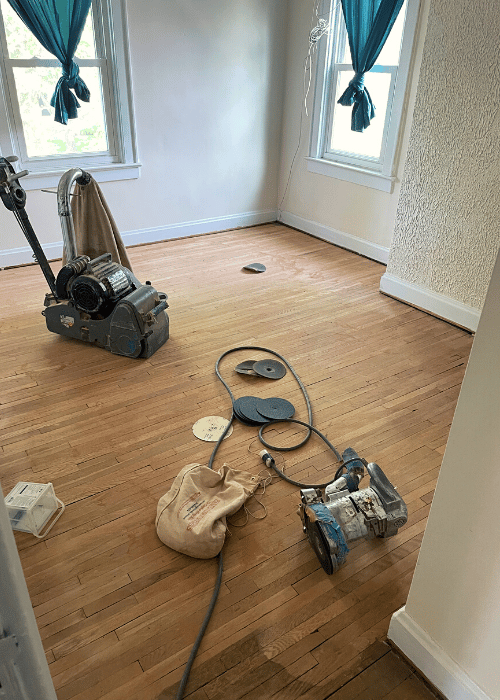
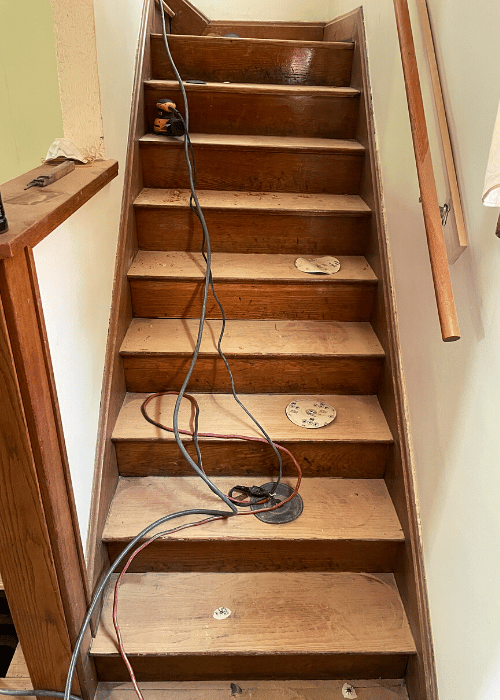
Sanding the Floors
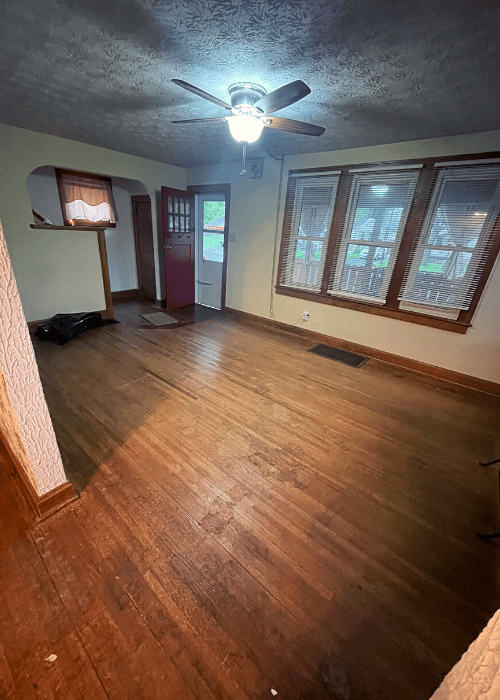
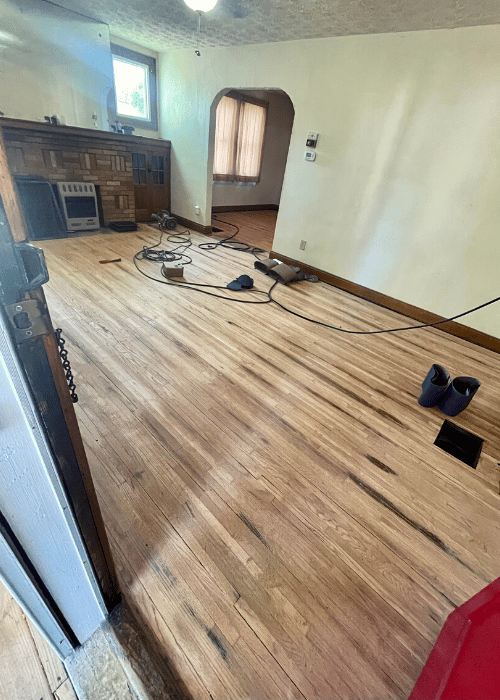
After they prepared the wood, a contractor came to their home to sand. What a difference sanding makes in removing the old wood and bringing out the new!
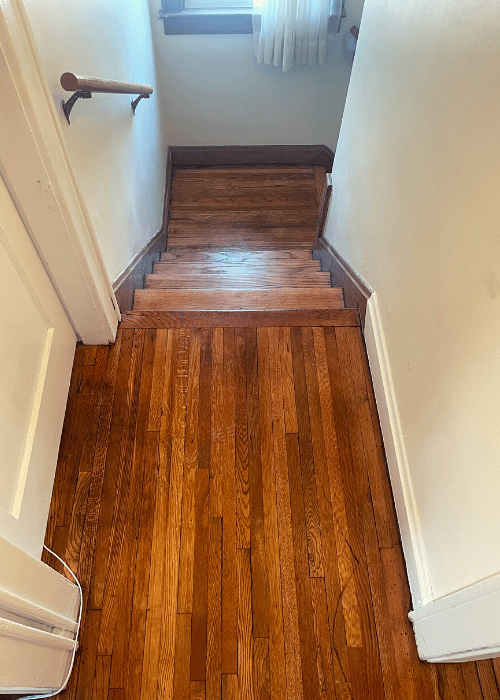
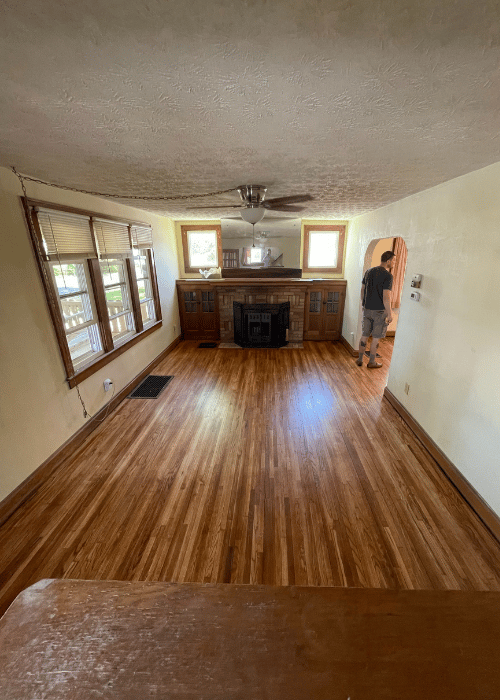
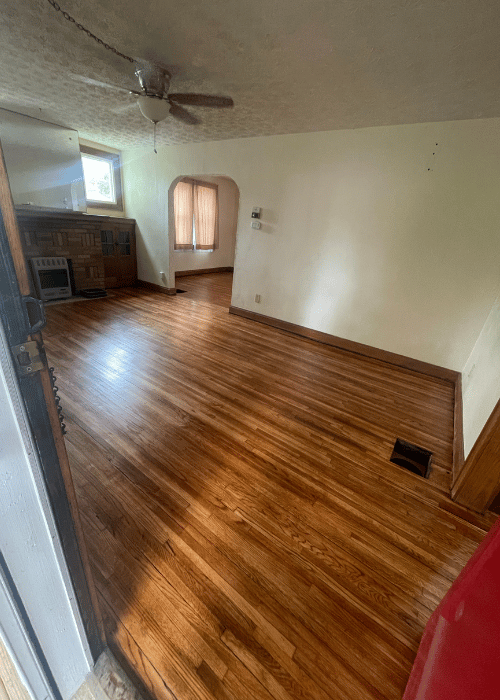
After Applying the Finish
Once the floor was sanded and vacuumed, the contractor applied the satin finish.
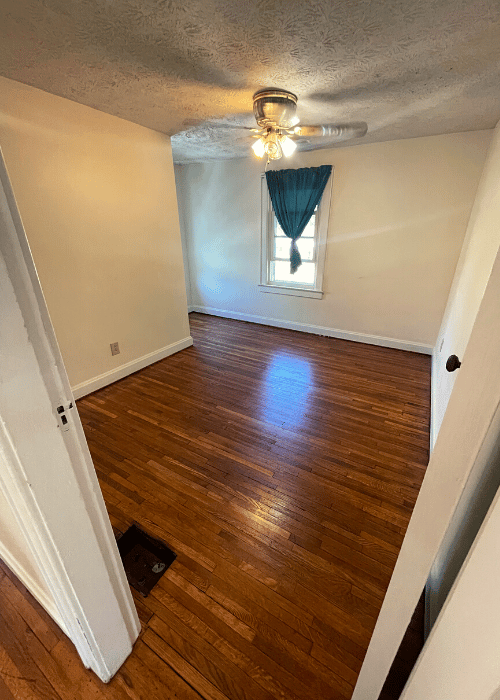
The Result
As you can see, the old floors now look brand new. After proper sanding and a fresh application of finish, these floors define the space with the durability to last in the years to come.
