Properly sanding hardwood floors increases the life span of your floor and the lasting quality of the finish. Whether you’re finishing, refinishing, going to hire a contractor or attempt to DIY, you will want to succeed the first time.
In this post, you will get a high-level overview about what it takes to sand hardwood floors, the risks involved, how to prepare, and what you should know about renting sanders.
Sanding Hardwood Floors: DIY or Hire a Contractor?
If you’re uncertain about the sanding process, you may wonder if this is something you can do yourself. Some say it takes time but is otherwise an easy and straightforward process. Ask a flooring contractor with years of experience about your DIY floor sanding project, however, and it may go something like this:
“Don’t try to sand hardwood floors yourself.”
“Why not?”
“You’ll see.”
The truth is that sanding a hardwood floor requires knowledge and many skills.
If you’re thinking about tackling this project as a novice, you’re almost guaranteed to make some mistakes that will show up after applying the finish.
Worse comes to worse, and you damage or wreck the floor, You will need to call in someone to redo everything, which means starting over.
Many contractors have steady business fixing DIY projects. That said, there’s plenty of people without any experience, who have successfully sanded and finished their hardwood floors. They’re happy with the results and have the added satisfaction of accomplishing it themselves. But for most people, it’s not easy.
With that said, if you lack sanding experience, but you’re determined to tackle hardwood floor sanding as a DIY project, you can succeed with the right guidance.
This DIYer on Reddit thought it would be impossible to sand and refinish her floors.
But she spent time learning and was able to sand and finish 2,000 sq. ft. of flooring for $3,000 in three weeks.
Get Guidance from Professional Installers
We recommend you find a flooring professional who is willing to walk you through the equipment and give you pointers.
Our flooring pro, Doug, is a great resource. You can reach him in the chat on our website.
He’s helped many people without any experience learn how to sand and finish hardwood floors.
And they have saved thousands of dollars by sanding and applying the finish themselves.
5 questions to ask yourself if you’re considering a DIY hardwood floor project:
- Will you have plenty of time available?
- Are you committed to learning how to sand properly?
- Are you up for a challenge that involves hard work?
- Do you need or really want to save money?
- Are you willing to accept the result of this project, no matter the outcome?
If you said yes to everything above, then DIY hardwood floor sanding may be your best option. You will save thousands of dollars when you do it yourself.
But be wary if your main motivation is to save money. You may unfortunately experience the opposite. And renting three sanding machines plus buying all the pads is still costly.
However, if you’re determined to take on a sanding project, don’t let all of this discourage you. With a little training and expert guidance, you can succeed. And there’s nothing better than the sweet success of doing difficult work yourself. Plus, there’s all the money you will have saved!
Before Getting Started
Before getting started, you will want to have a rough idea (at least) about what you would like your floor to look like once it’s completely done. With the end in mind, everything tends to fall more naturally into place.
Pinterest is one great tool you can use to easily find, collect, and organize images of flooring to guide your efforts. With a picture or a collection of images, you can also more easily discuss your expectations with a professional.
You can explain to the flooring professional what your goal is and ask for help, one step at a time. Either reach out to us or else visit your local specialty flooring store and ask for guidance about the equipment you will need and how to use it.
The best case scenario as a DIYer without experience is to have someone like Doug, who will generously show you in person exactly what to do. For a difficult project like hardwood floor sanding, instruction and hands-on practice is essential.
Sanding is Hard Labor
You should also know that it’s going to be hard work. Maybe you already know, and that’s part of the appeal. Run an edger for a day, and you will experience a full body workout that leaves your forearms, shoulders, back of your legs and lower back feeling like you just did a week of Cross Fit.
You may want to consider wearing knee pads and a work belt.
Evaluate Your Space
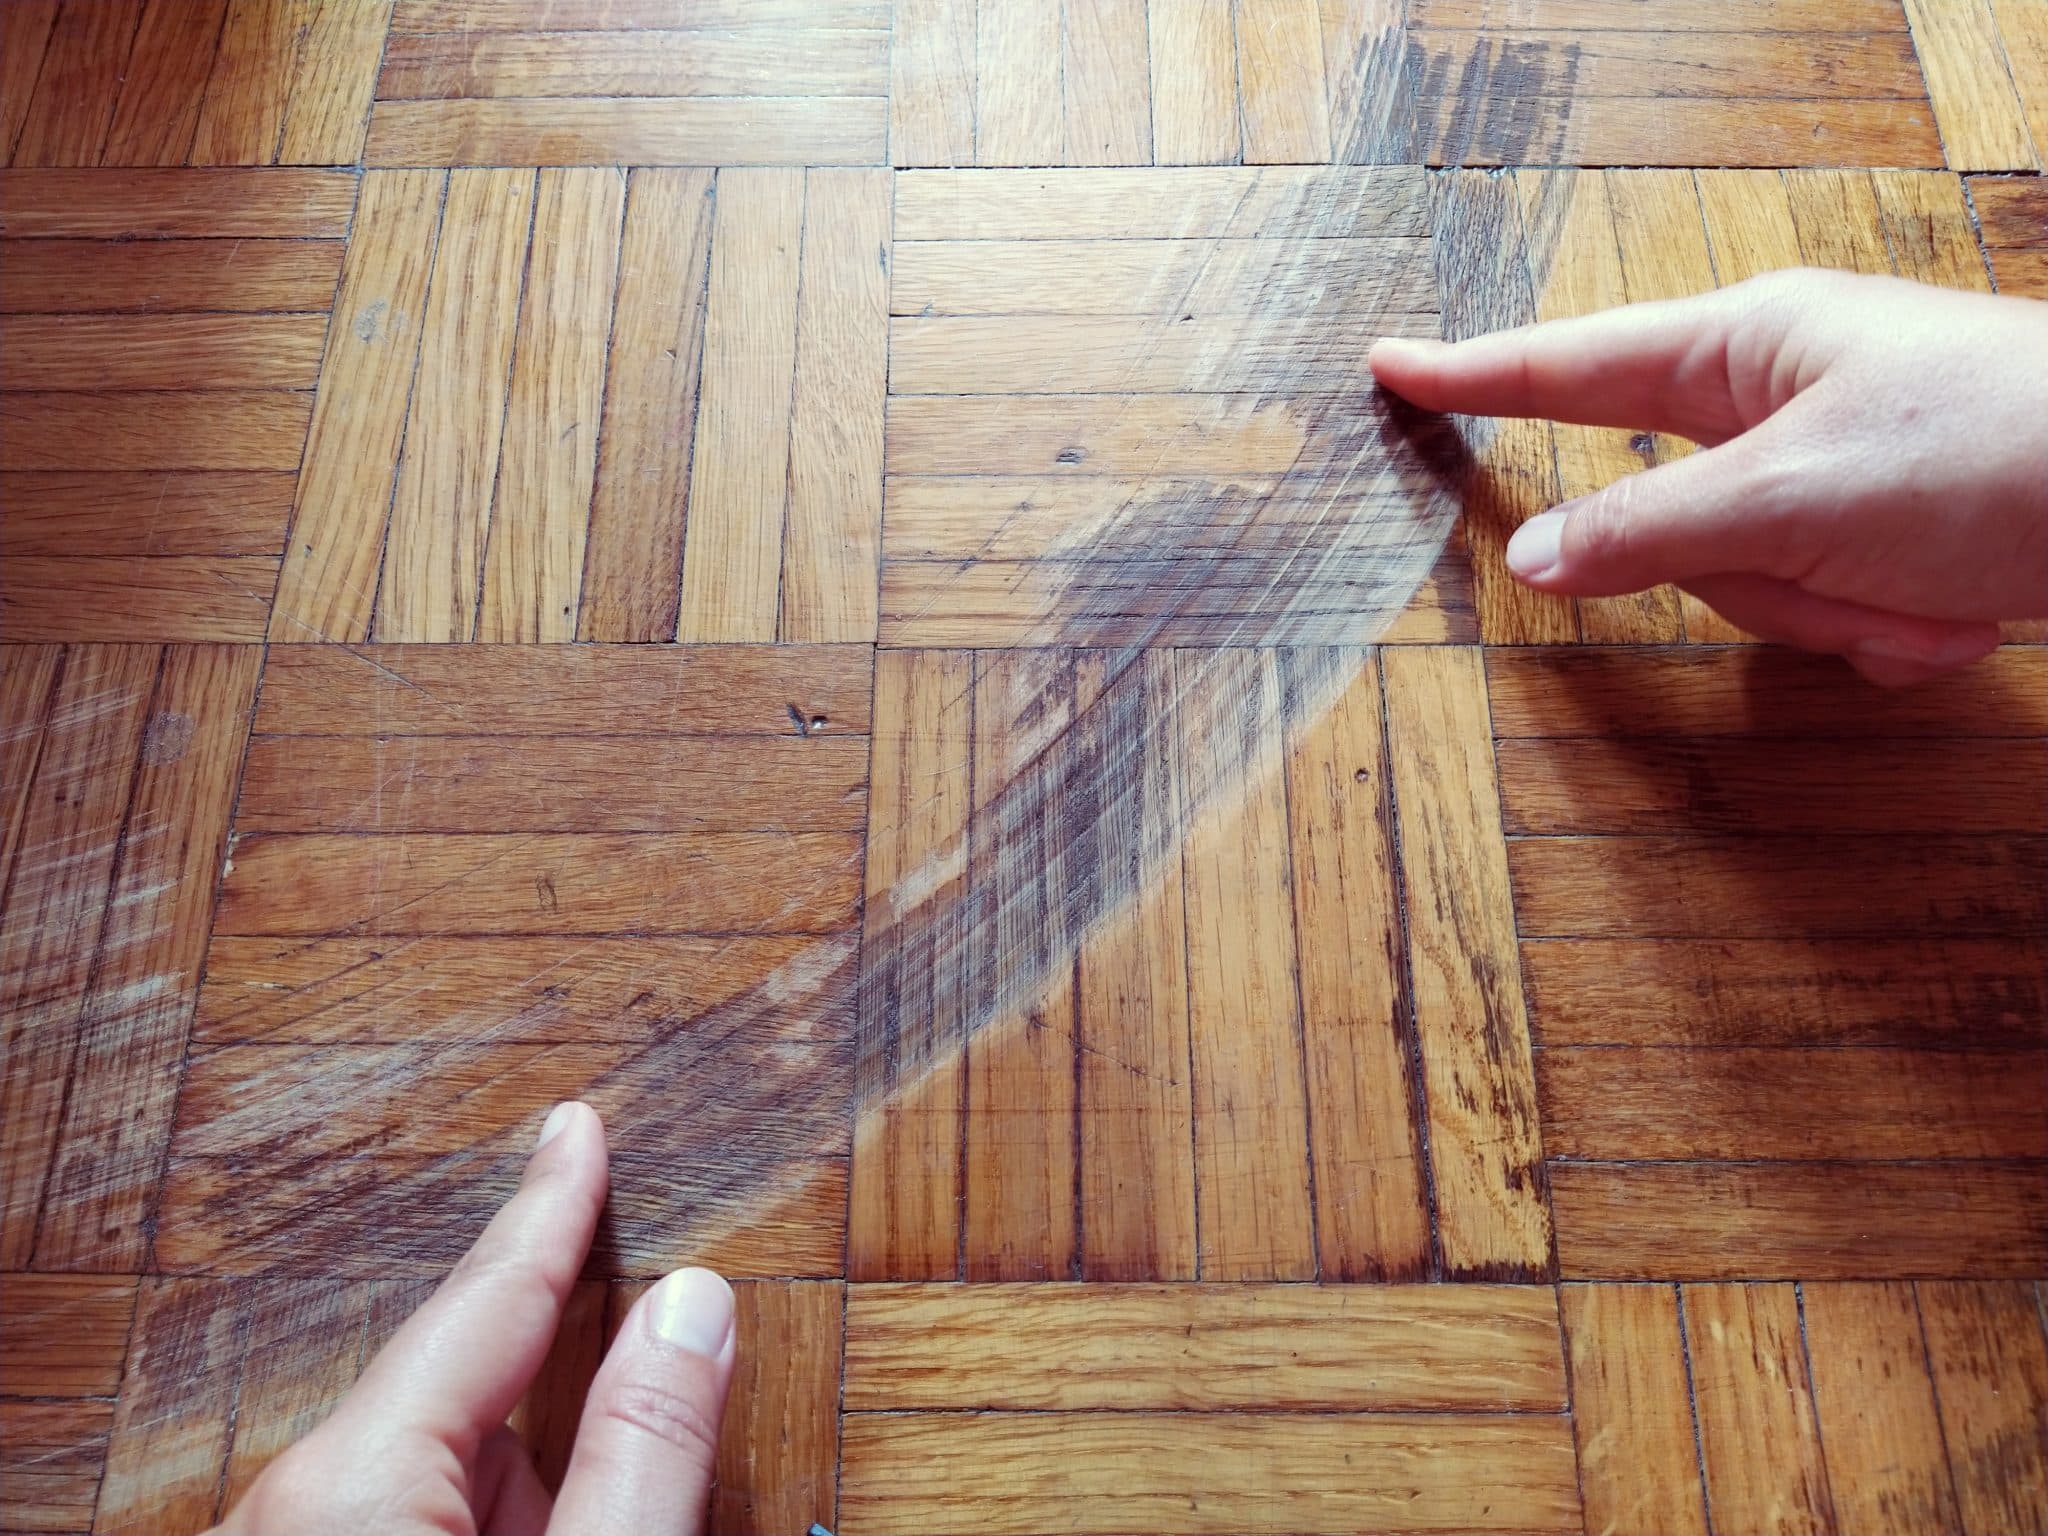
Besides hard work, sanding hardwood floors requires meticulous preparation. The first step is to evaluate your floors.
Say you have 1,000 sq. ft of solid wood flooring. You will want to carefully evaluate…
- The floor’s current condition (species, gaps, stains, marks, and any cupping or crowning)
- Any coating on the floor you will have to remove
- The number of rooms, space, and entry points
- The skill level and number of the people doing the job
As you evaluate your floor, make sure the planks are properly secured to the sub flooring. Countersink all nails and other fasteners. Make sure no nail heads are protruding because they’ll rip the sanding paper. When this happens, the sander will leave streaks behind.
Once the floor is good to go, remove the trim and moldings, such as the quarter round and base shoe. This is often considered to be a pro tip that makes everything else easier.
Your next step is to thoroughly clean the floors with a vacuum. To avoid any debris getting caught under the sander, you must vacuum carefully before you begin. After cleaning, be ready to plan for the dust.
Dust Containment & Dustless Floor Sanding
You need to have a solid plan for dust containment in place before you begin to sand. This includes knowing how air circulates throughout your home. Be extra cautious. You can tarp the adjoining rooms, put up plastic in the entries, and you still might find yourself vacuuming dust that’s traveled throughout the entire house.
Remove doors that open into the room and all the furniture from the spaceand take down pictures from the walls, remove light fixtures that hang low, and anything else that will collect dust (except ceiling fans).
Next, it’s time to rent sanding equipment and learn how to use it.
Renting Sanding Machines & Buying Materials
One key tip is to make sure the machine you rent is ready for the job at hand. If you rent a machine that’s been used for 600 hours and the handle is loose, you’re going to be dismayed when you leave chatter marks across the floor. Nothing is more demoralizing to your DIY project than renting a poorly maintained and inadequate machine.
Floor Sander Rental 101
When you rent a sanding machine, get help from a trained professional. There’s many ways to make a serious mistake and damage the floor, so you’ will have to know exactly what you’re doing, which includes using different grits in proper sequence. Find an expert willing to take you through the equipment and show you how it’s done.
Know What Can Go Wrong
Knowing what can go wrong will help you avoid costly mistakes. Make sure you’re aware of the big problems that can cause you to have to start over. At the same time, build the confidence required to succeed the first time.
Mishandling the equipment is a source of major trouble. If you operate the sanding equipment too aggressively, you can permanently damage the floor with gouges and dents. Another problem results from over-sanding the wood, which will prevent it from taking the finish. This causes spots across the floor where the finish dries differently and gives you a blotchy-looking surface. But if you’re not aggressive enough while sanding, your floor will look dull after you apply the finish.
That’s why it makes all the difference to seek guidance from someone with experience, who is willing to teach you in-person. They can show you what to use and how to properly operate the equipment you’ll need to rent. At Panel Town, we have a former contractor with 35-years of experience. He shows you the ins-and-outs of each machine we have available, so you get hands-on learning before you rent. If you’re not in Columbus, OH, check for something similar in your area.
Don’t skimp by trying to save money on a rental, sandpaper, or by skipping steps in the process to save time. Being overly frugal or careless increases the likeliness for a serious mistake where you’ll end up wasting time and spending more to go back and do it all over again the right way.
Floor Sanders
In this section you’ll learn more about the different floor sanders available to rent.
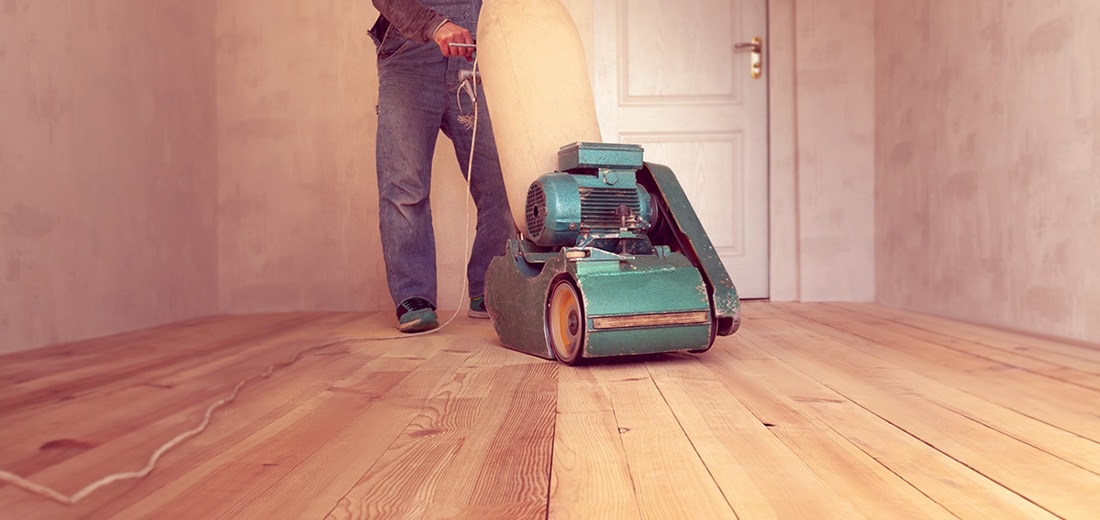
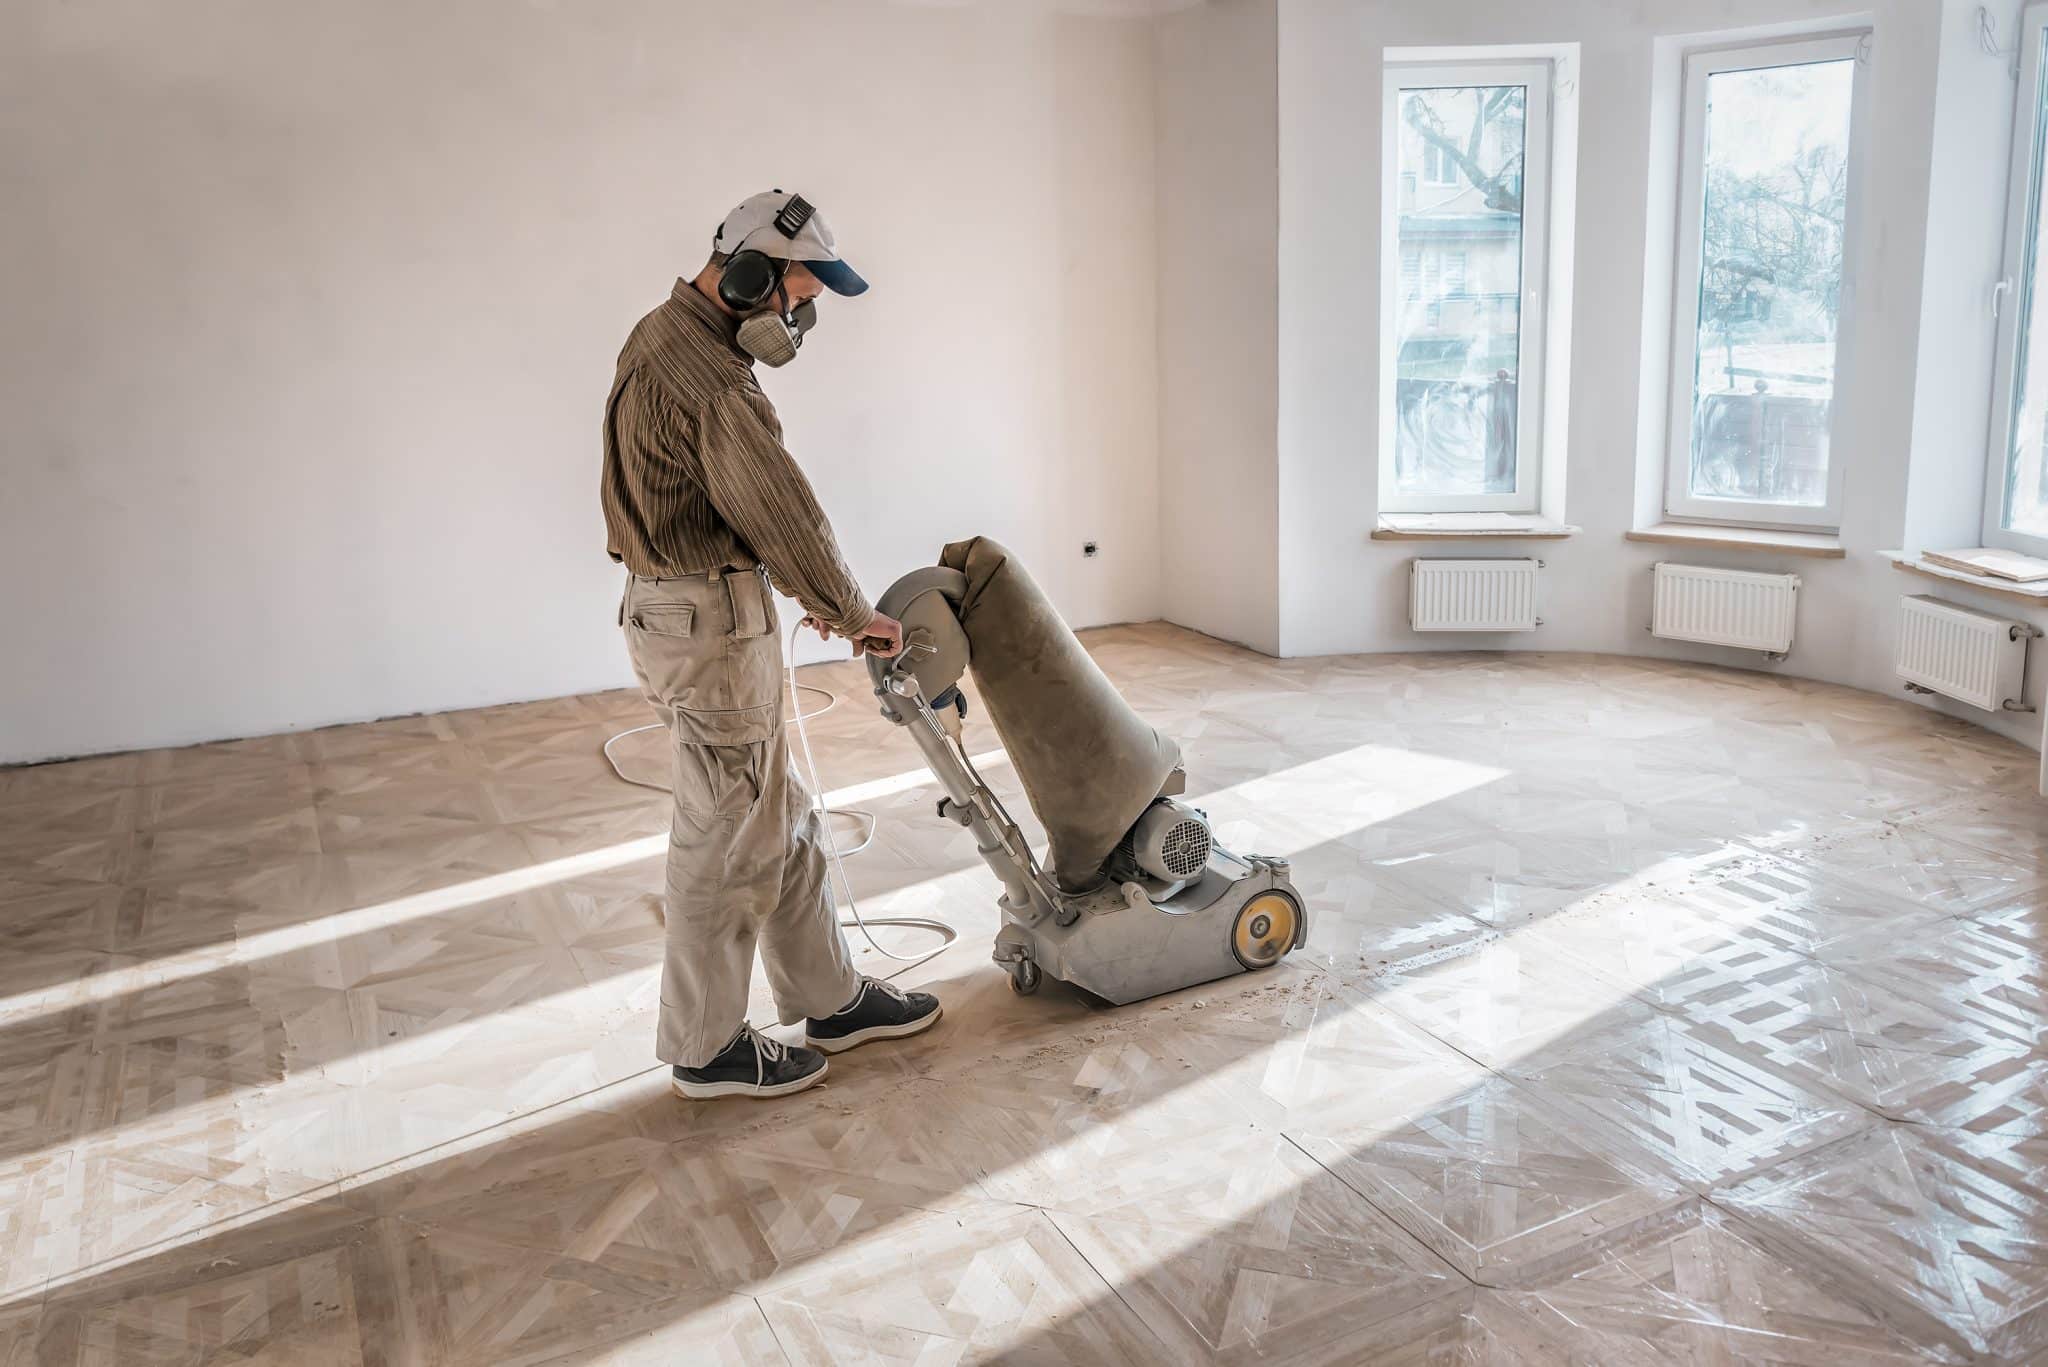
Drum Sanders
Drum sanders are hefty, heavy walk-behind sanders that are made for fast, high-volume production. With a drum sander, you can easily remove finish and stain from the floor. These large and powerful sanding machines also come with built-in dust containment. The same ones the pros use aren’t commonly available to rent.
Even the drum and belt sanders available to rent are unwieldy until you get the hang of them. A pro can show you how it’s done – what to do and what not to do.
They’ll explain how you should never start with the drum down in contact with the floor. They’ll show you how to always be moving the machine before gently easing down the drum to the floor to avoid causing a dip.
They’ll show you how to feather the edges. With the right instruction and guidance, you can rent one and do the job yourself. But you have to be willing to live with the results.
Orbital Sanders
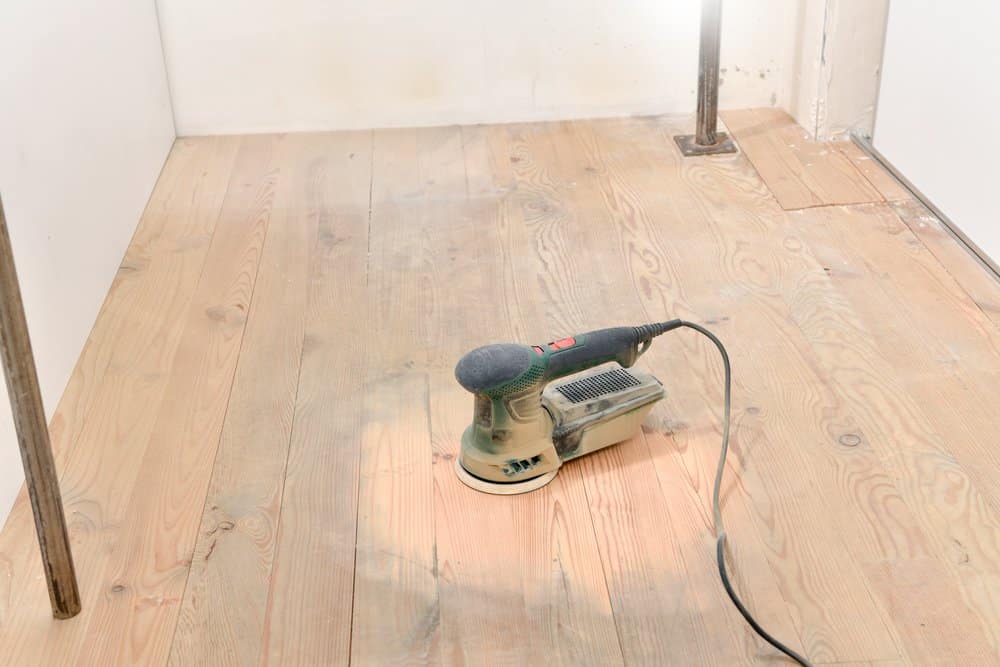
After using the drum sander, run an orbital sander to blend the scratch pattern. Orbital sanders can reach corners and areas unreachable by a drum sander. These machines are smaller, circular or square sanders that you can use to completely sand the floor, but it will take much longer if you don’t use a drum sander first.
The benefit of going the distance with an orbital sander is that there’s less risk of doing damage; however, it’s a lot more work.
Read about the best orbital sander.
Edgers
Edgers are small, circular sanding machines that are made to go where the other bigger machines won’t be able to reach, such as along the perimeter of the room. You can use them to reach around cabinets and radiators and other difficult spaces like the stairs.
You operate an edger by hand, and they have a rotary disc that can get rid of material (stains/finish/paint). Like the other sanders, you can use them to level off the floor and decrease the appearance of scratches.
The key to using an edger is to never apply aggressive pressure and to always keep it moving. Edgers also have adjustable wheels for regulating the level of sanding aggressiveness.
Buffers
Most floor buffers are 16”-18” and are commonly used toward the end of the sanding process or to abrade in between coats of finish. Operating a buffer is less about strength and control and more like a dance. Again, a skilled contractor can show you how it’s done.
If you try to muscle the buffer, it’s going to run away from you. You need to get a feel for it before you ever try and operate it in your home. Once you get the feel for it, you can rent one and use it with confidence.
Abrasives
Knowing the type of sanding paper or hardwood floor abrasives you’re going to use is an important consideration. A good rule is to start by choosing the finest grit you can that will effectively flatten the floor. If you’re refinishing, then you will want to choose a grit that completely removes the prior finish.
The abrasive you choose will depend on the floor and the type of sander you’re using. If your sanding machine has a lot of power, then it will apply more pressure. The more pressure your sander applies the better suited for certain grits. You will need more pressure for a coarser grit.
If you don’t load the right sandpaper or use the proper grit sequence, you will leave behind scratches from the first cut. This will result in a sloppy looking surface that won’t hold finish.
Summary
Sanding hardwood floors requires specialized skills, the right equipment, and hard work. If you want to make it a DIY project, the good news is that it’s possible, but you need to set realistic expectations. You must also be determined and willing to learn all you can for the best odds of success.
Your best bet is to find an experienced professional to show you the process from beginning to end and teach you to properly operate the equipment. Your specialty flooring store is a great resource if you’re looking for knowledgeable people willing to take the time to walk you through each step.
And if you decide to go with a contractor, there’s always the option of completing some of the steps yourself to cut down on some of the cost. In the end, you will have to decide which is best for you, your budget, and your floor.
You can learn what to do, how to do it, and then rent the equipment, buy the materials yourself, and then get to work as long as you’re willing to live with the results.
In the end you will save thousands of dollars and feel satisfaction about your work. Or you will be on the phone speaking to a contractor about fixing your mistakes.