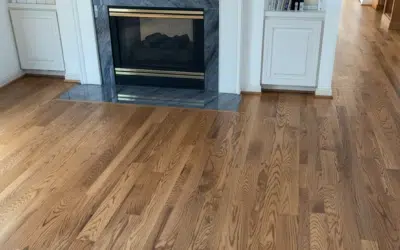
Installing hardwood floors – as a professional or DIY-er – is entirely doable with the right knowledge and tools. There are several ways to install hardwood, and you’ll need different tools depending on the process you intend to follow.
In this article, we’ll share the best (and most essential) hardwood floor installation tools you need for a DIY or professional project – and explain the essentials for each installation method.
Hardwood Floor Installation Methods

Before installing hardwood floors, it’s important to understand the different methods available. You can either glue down, nail down, or install a floating floor.
Traditional solid hardwood is not meant to float. It expands and contracts too much with changes in humidity.
Engineered hardwood can often be floated, if the manufacturer allows it. Engineered boards have a stable, layered plywood core that resists expansion and contraction, so they can safely lock together above the subfloor using click-lock or tongue-and-groove systems.
Each option has its benefits, and we often recommend a combination of both gluing and nailing hardwood for the best results.
Here’s a quick guide to hardwood floor installation methods:
- Glue-down: Uses adhesive to glue planks to the subfloor. This secures planks in place and creates a sturdy surface with no hollow-sounding spots. It’s ideal for high-traffic spaces and moisture-prone areas.
- Nail-down: Where hardwood planks are nailed to the subfloor. It’s a fast, cost-effective method, and it makes it easy to replace a plank if it gets damaged in the future. However, the nails can loosen over time, leaving floors squeaky.
- Floating floor: Means clicking the planks together above the subfloor (like you would with laminate or luxury vinyl flooring). Installation is quicker, easier, and more affordable, but the floor can shift without proper underlayment, and it won’t handle heavy loads well.
6 Essential Hardwood Floor Installation Tools
The right tools make all the difference for achieving a secure, unmoving hardwood floor that withstands the test of time.
We recommend these hardwood floor installation tools to protect yourself and get the job done right.
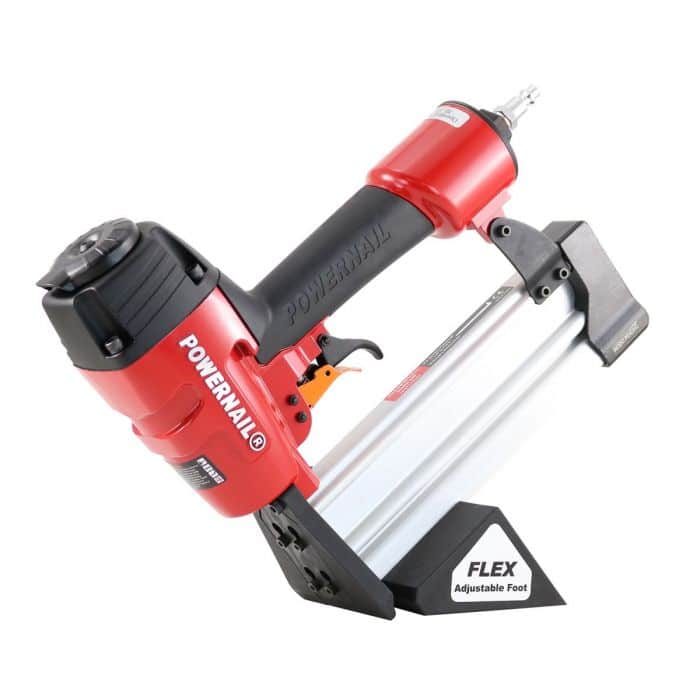
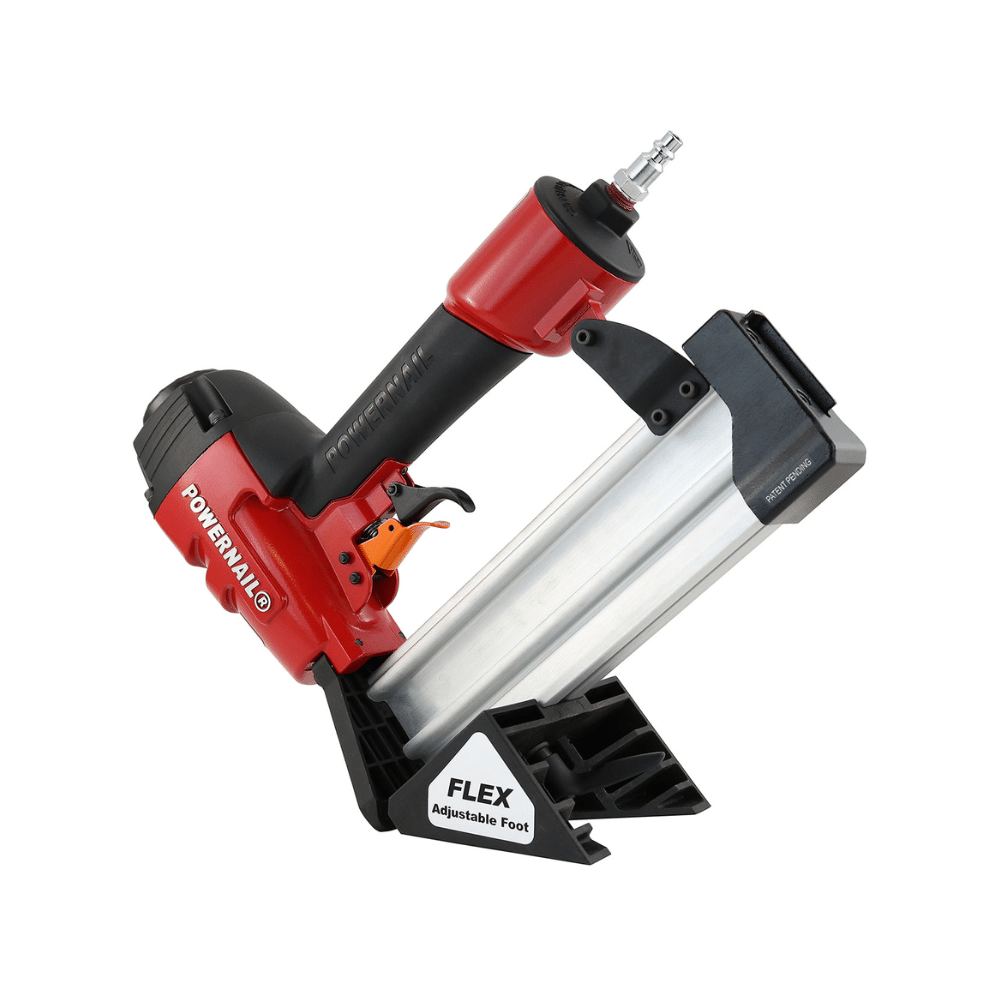
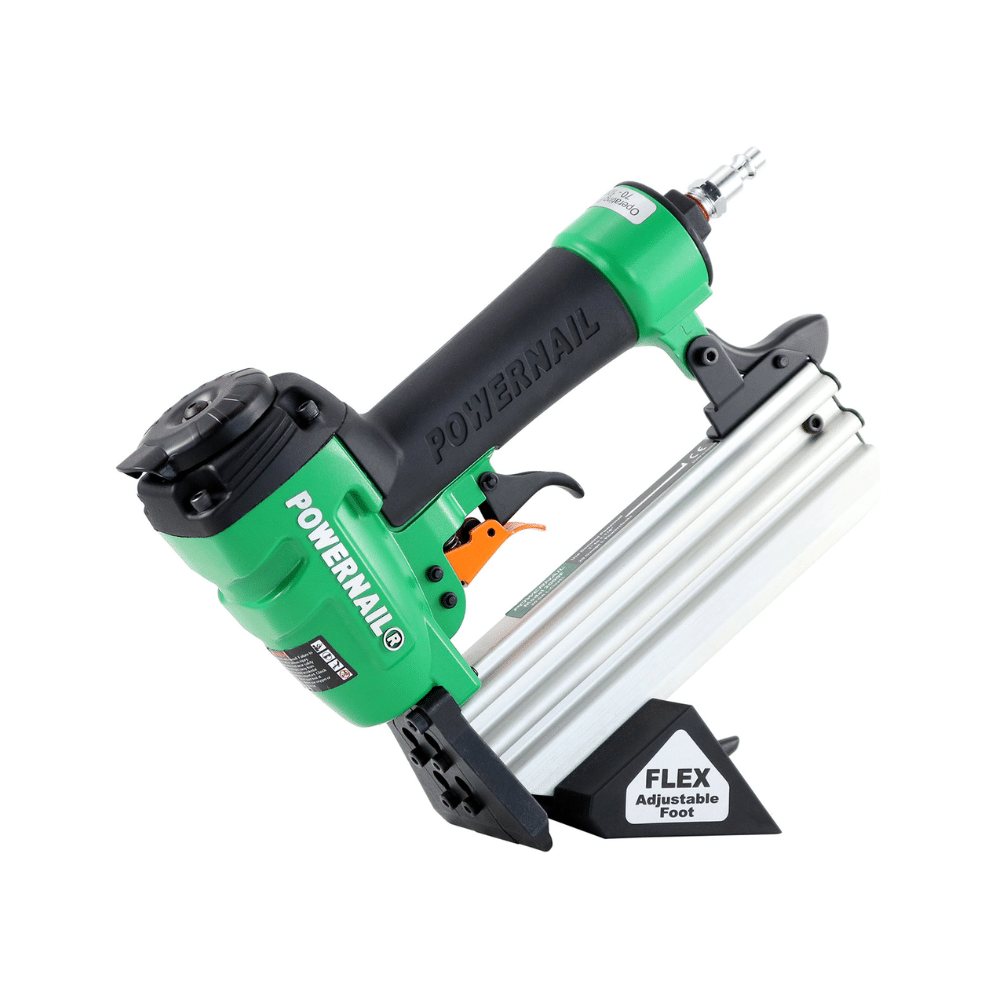
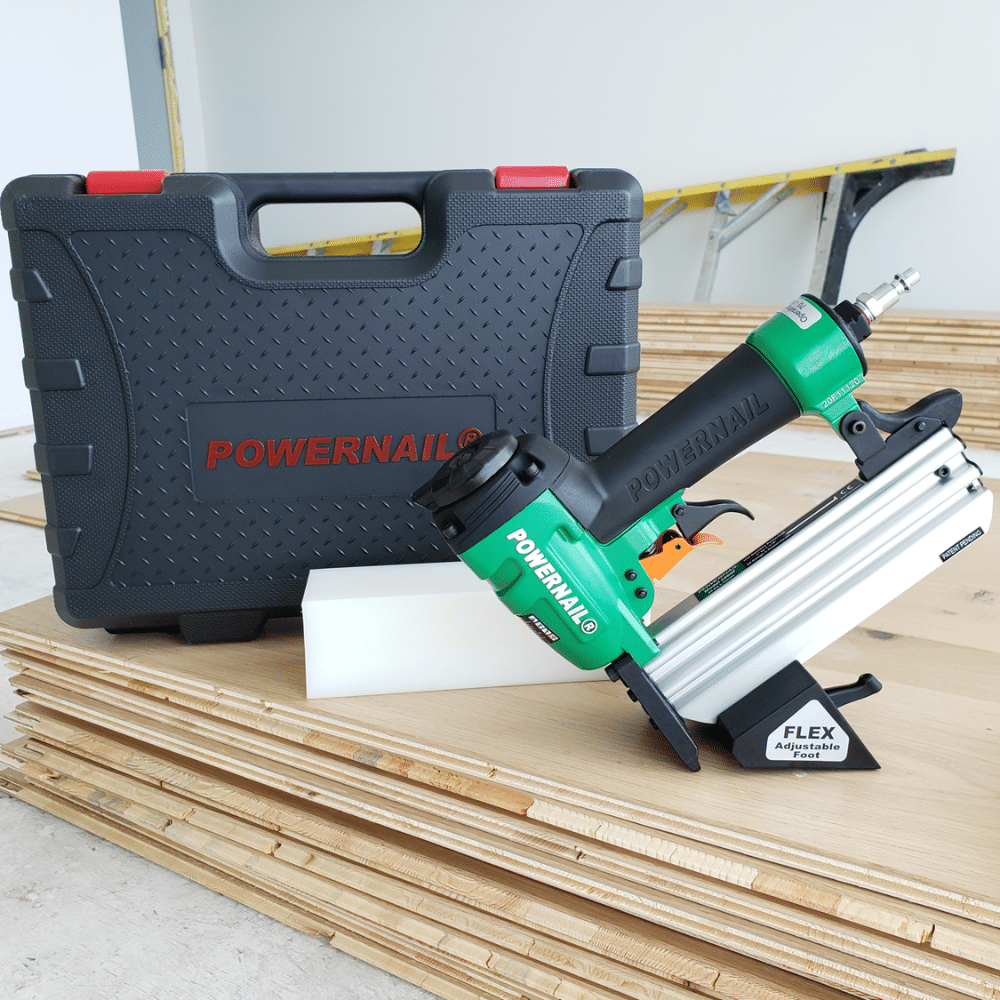
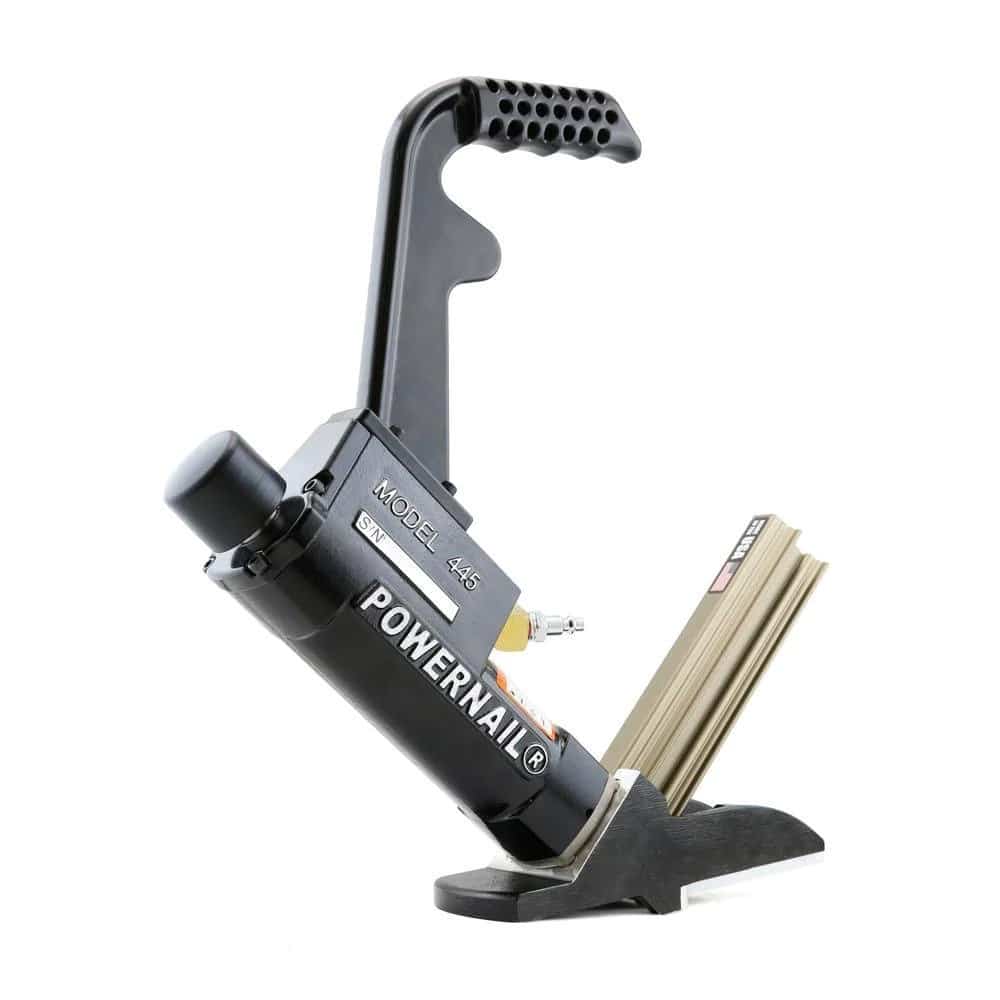
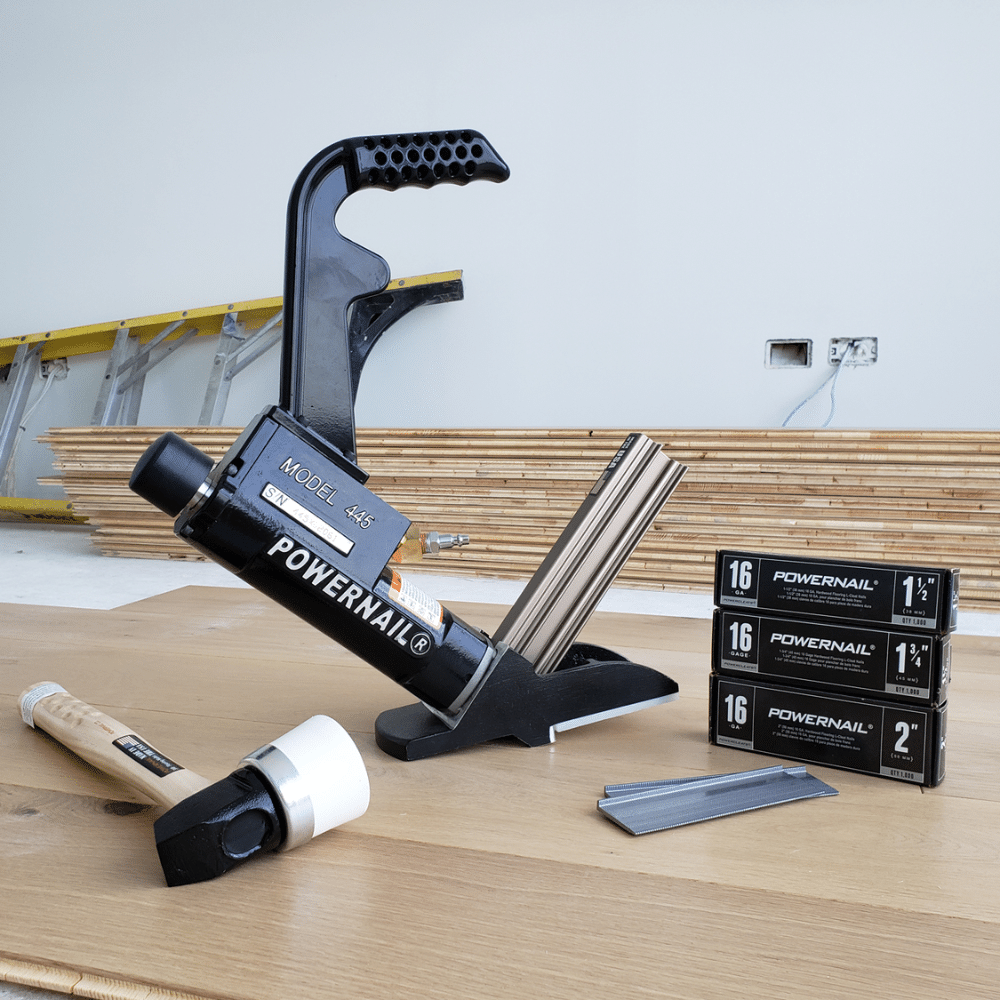
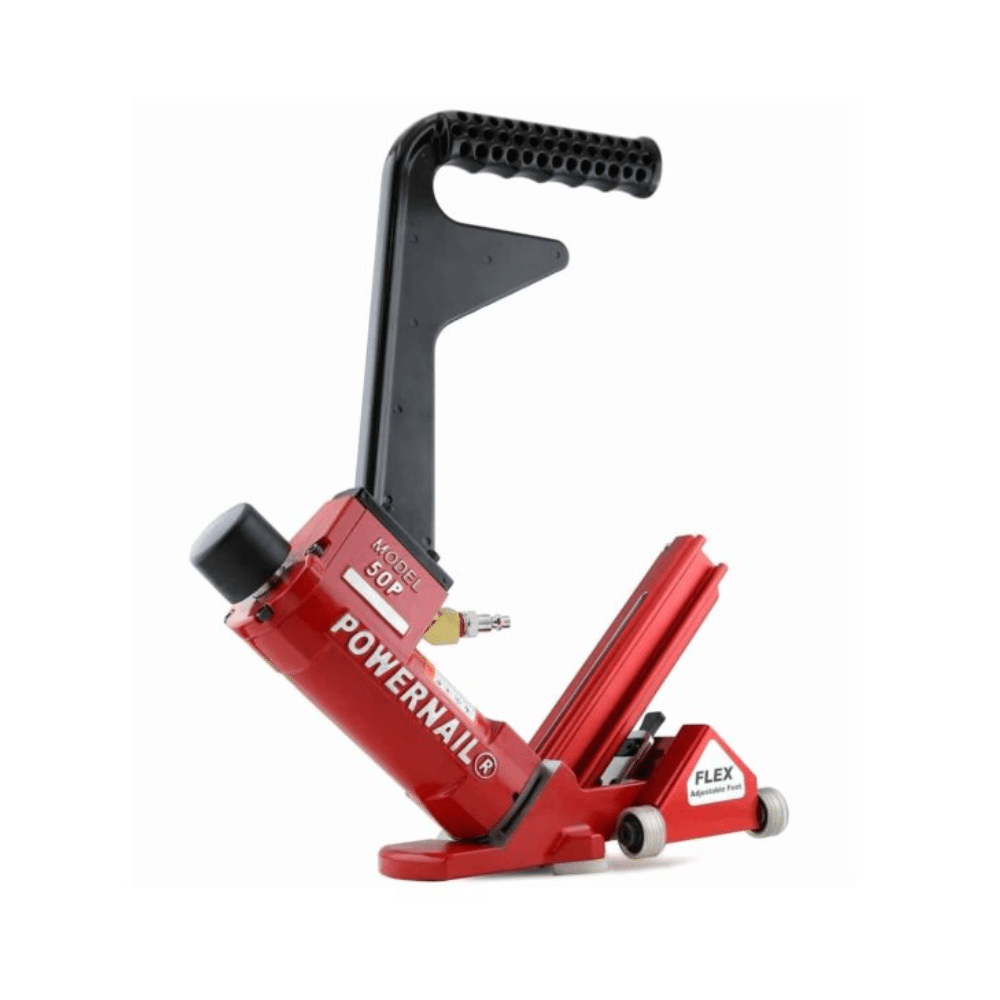
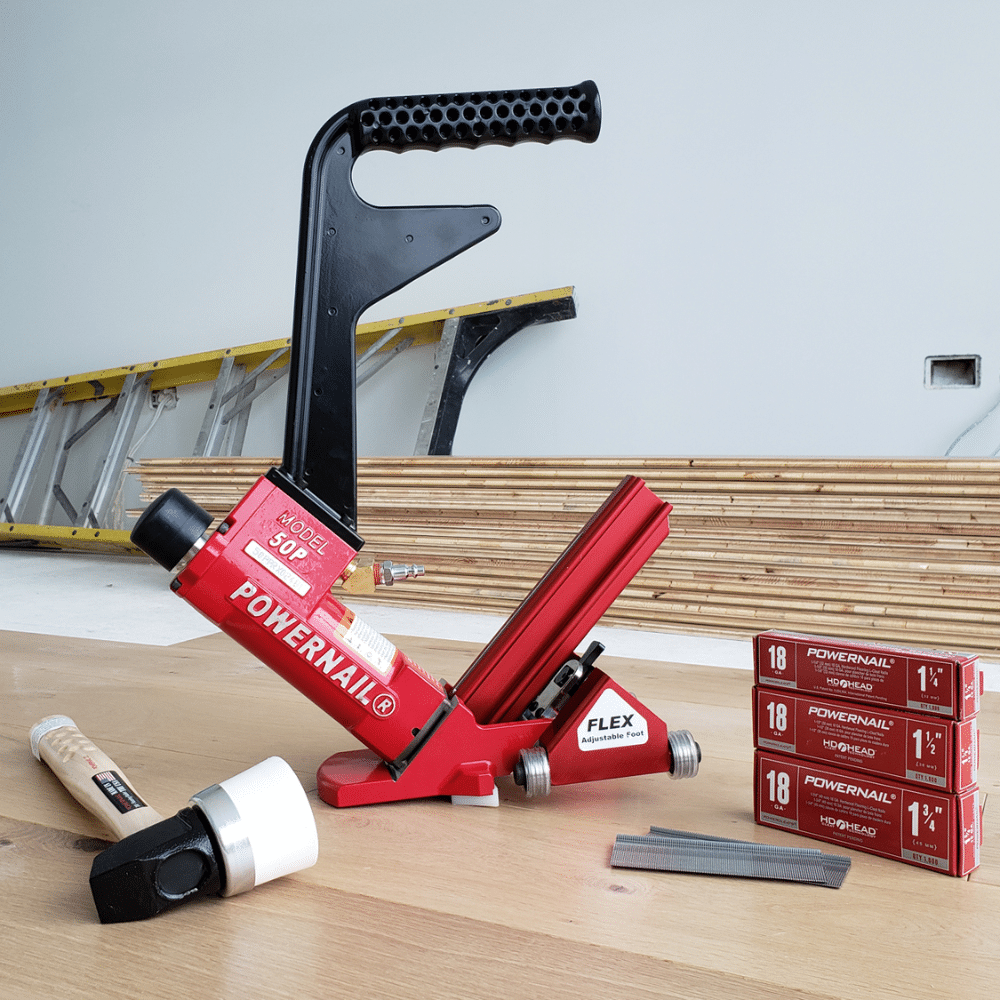
1. Powernail Nailers
When nailing hardwood to the subfloor, you’ll need to use a nailer powertool. A good quality nailer saves time and ensures a quality surface.
When using a poor-quality nailer, installation can be significantly slower and more tedious, as you’ll have to stop to fix air leaks, hammer in half-sunken cleats, and unjam cleats.
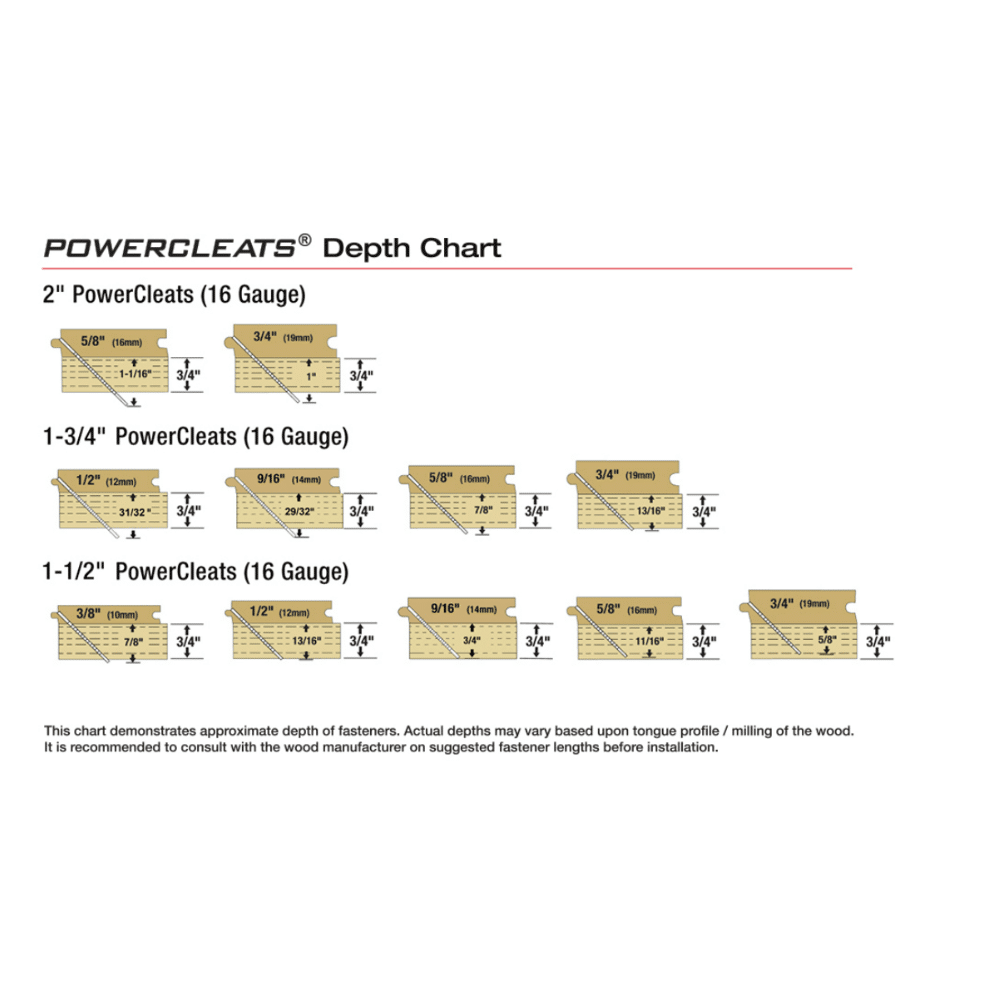
Choose a nailer that aligns with the thickness of both the flooring and the gauge cleats you want to use. It’s also important to decide between trigger-activated or mallet-activated nailers.
Featured Products: Best Nailers For Hardwood Floors
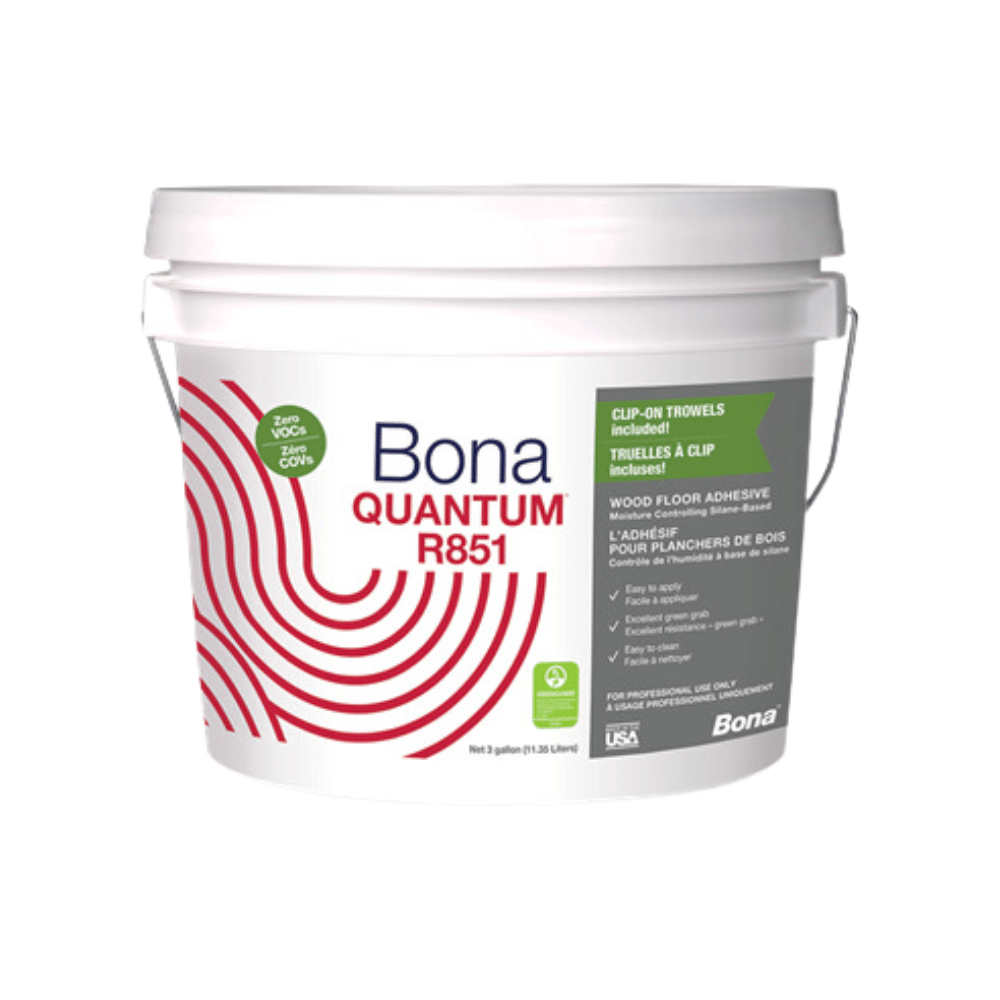
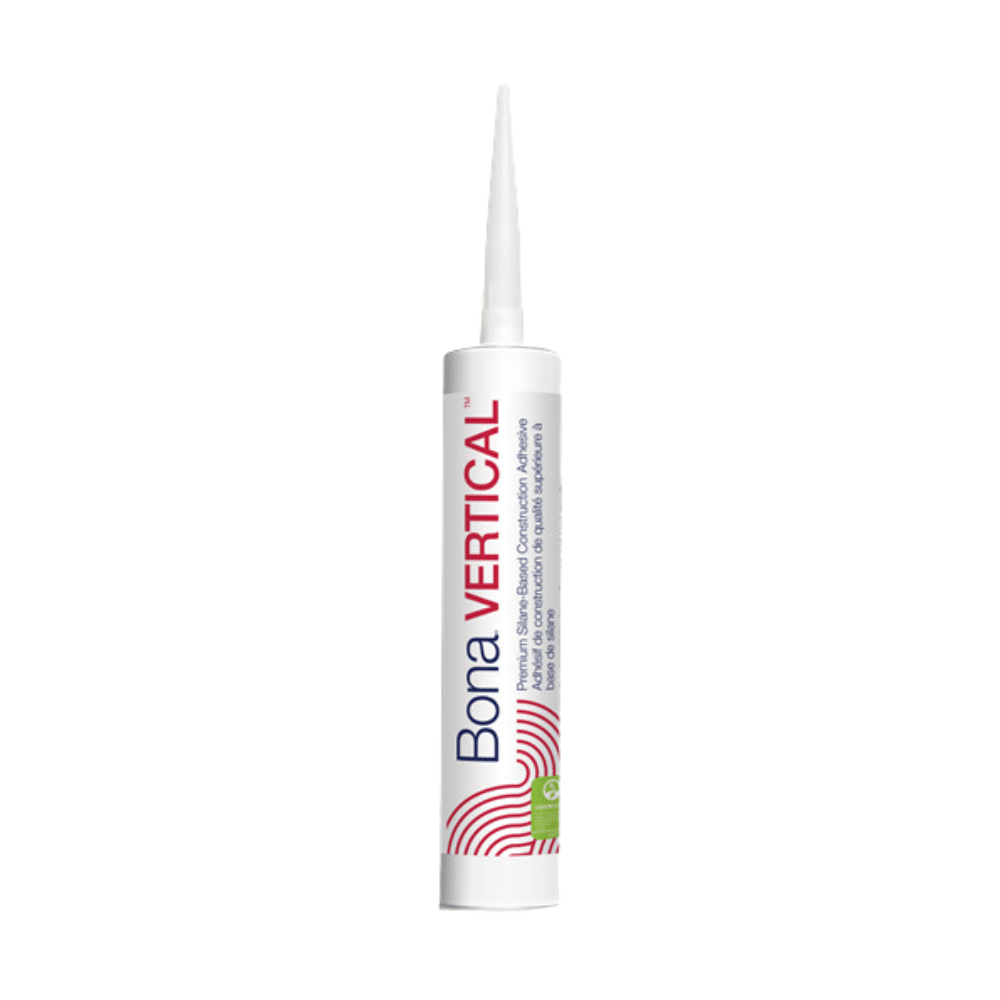
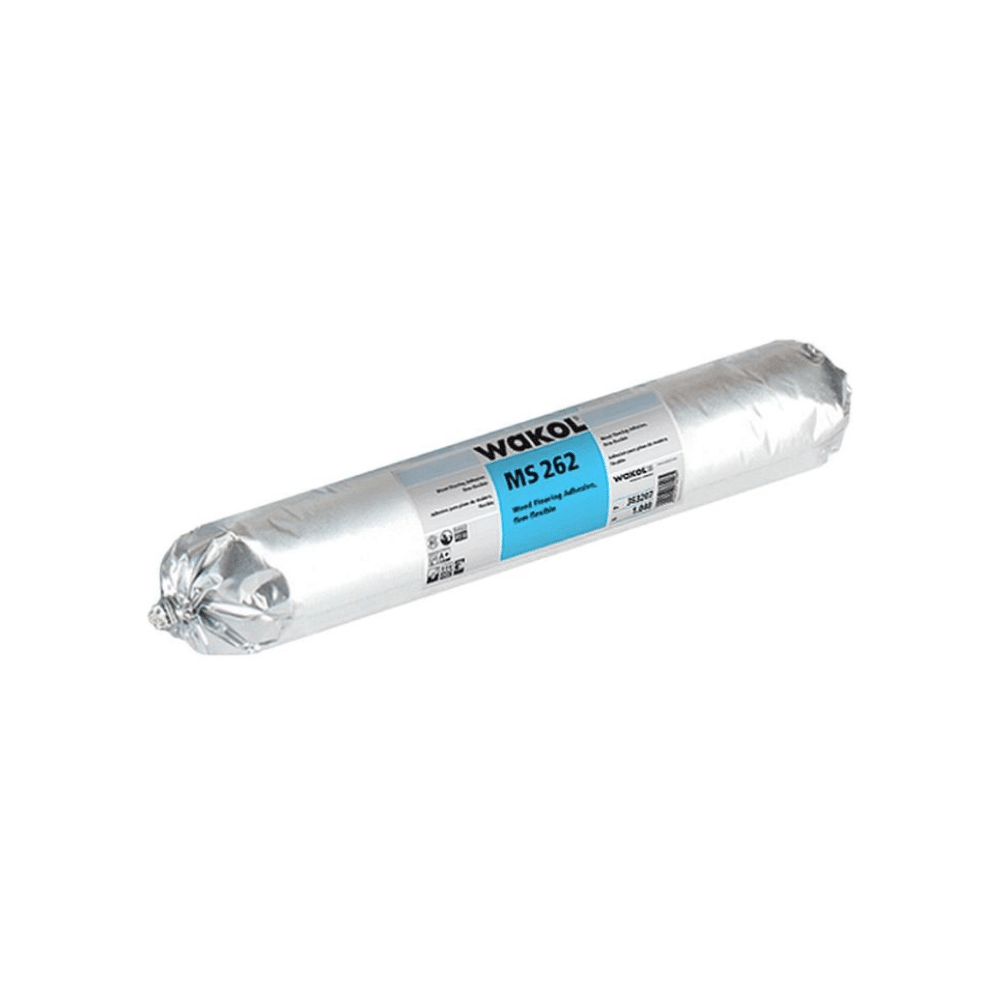
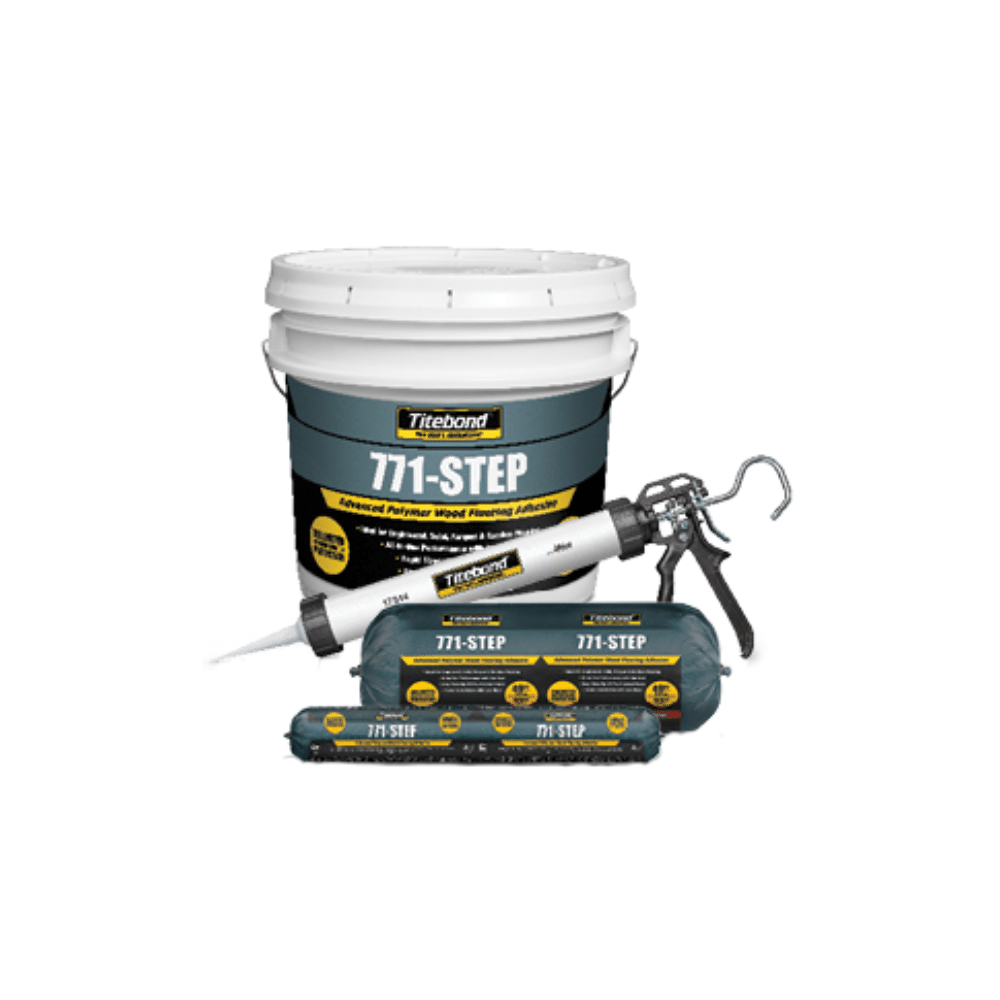
2. Wood Floor Adhesive (For Glue-Down Applications)
When installing a glue-down hardwood floor, you’ll need a high-quality adhesive to ensure the flooring stays secure and well-bonded.
We offer a range of acrylic, urethane, and silane-based wood flooring adhesives for full-trowel and nail/glue-down assist installations.
Read how to choose the best floor adhesive in our comparison guide.
Featured Products: Best Adhesives For Hardwood Floors
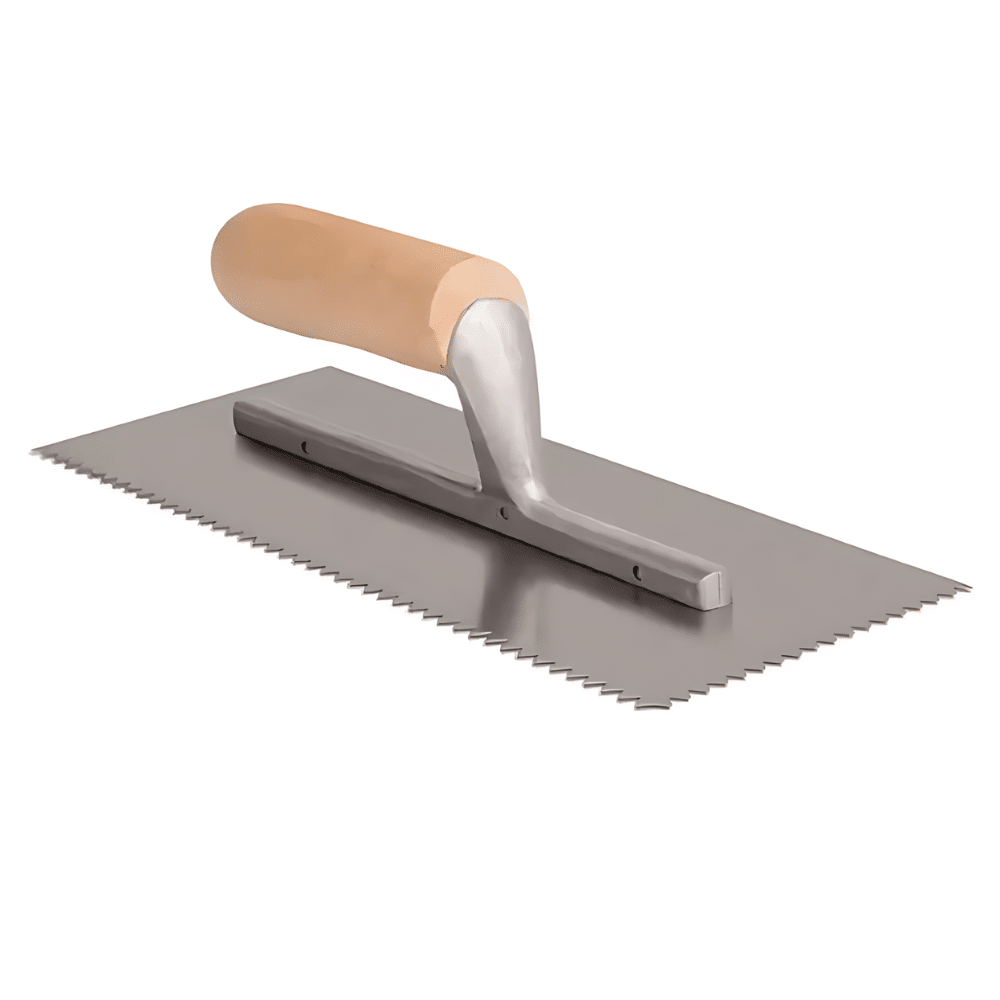
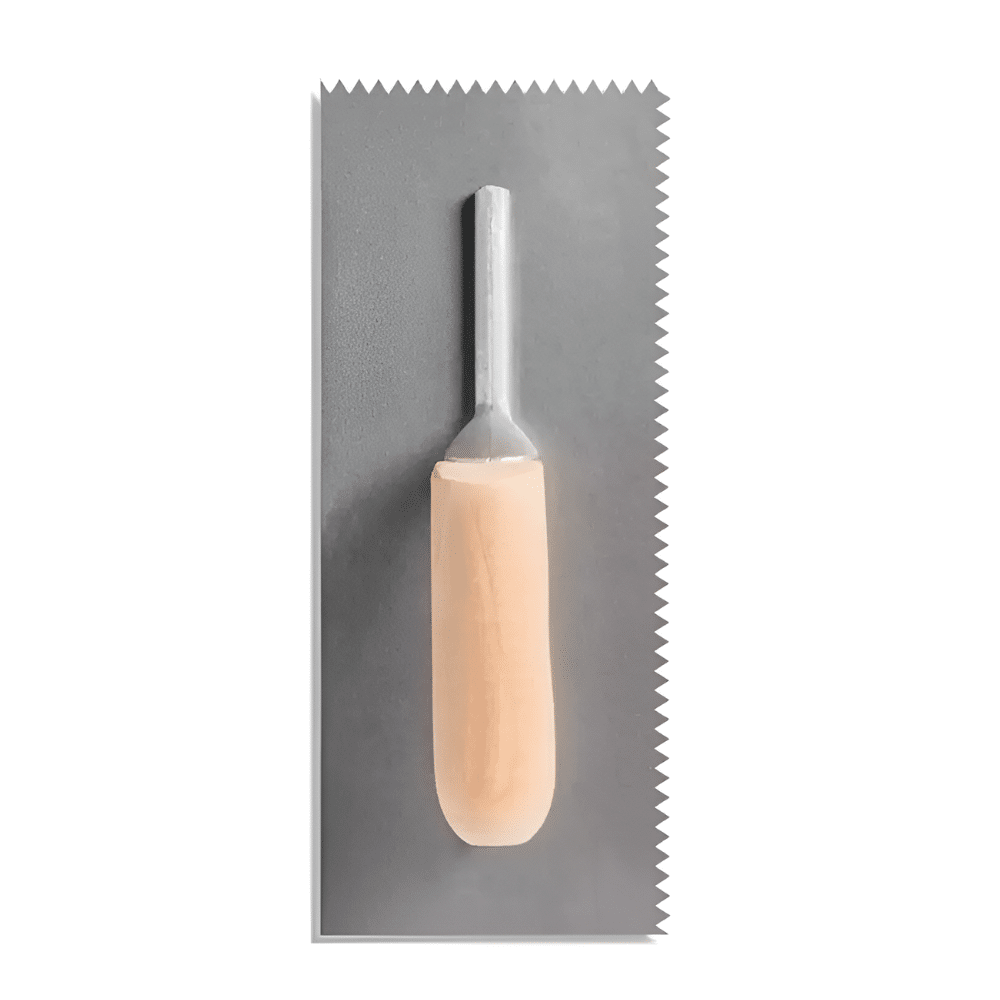
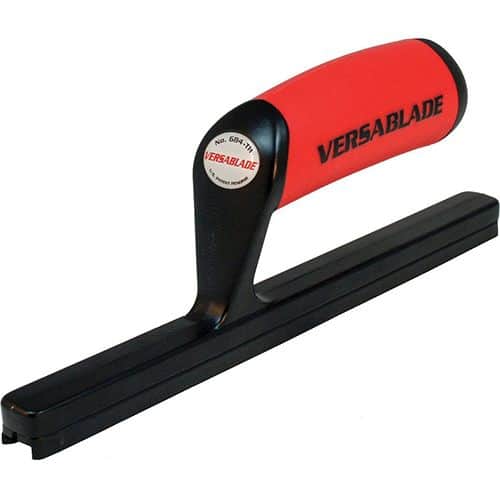
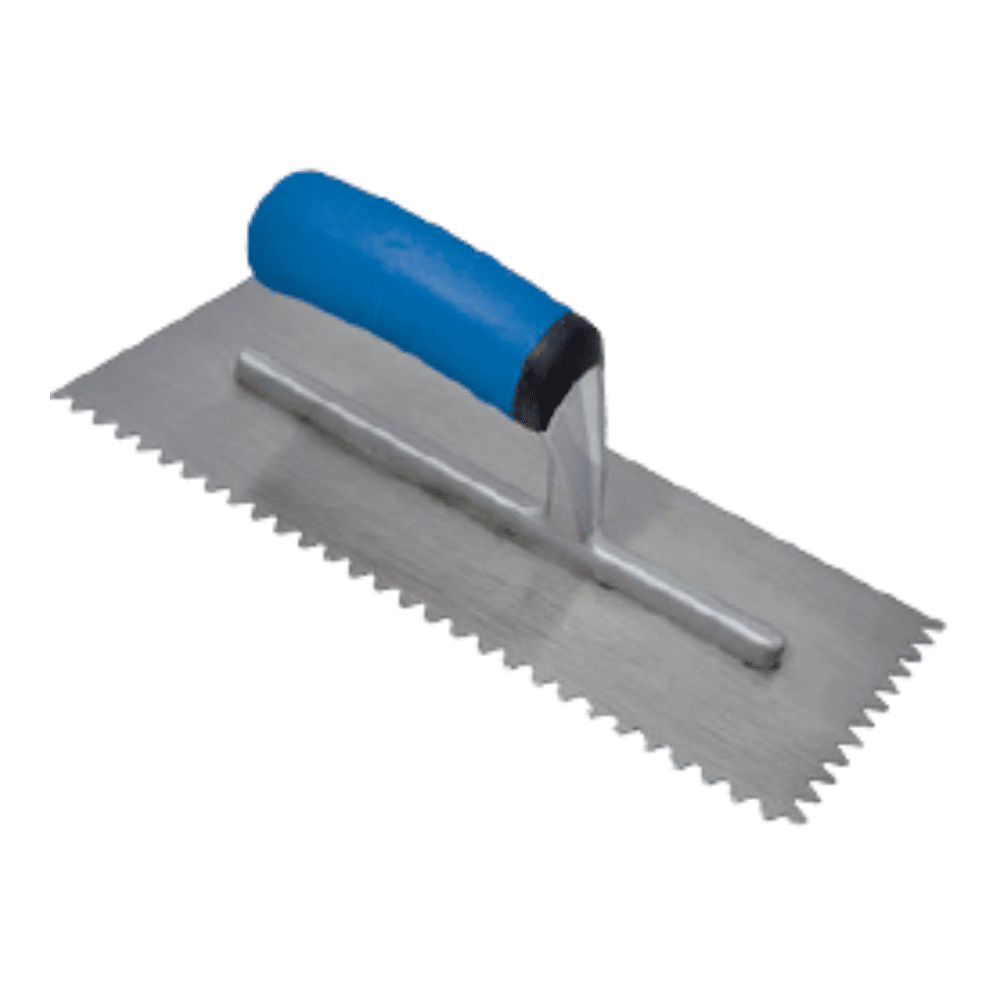
3. Adhesive Trowels (For Glue-Down Applications)
Trowels allow you to apply a consistent amount of adhesive each time you lay a hardwood floor plank. This prevents hollow spots and helps you achieve a secure, even bond across your floors.
Choose a trowel that matches your adhesive manufacturer’s notch size.
Use a new trowel rather than an old, worn-in trowel when gluing down hardwood. An old trowel will decrease the flow rate, which can disrupt the finish and cause popping or creaking noises after installation.
Featured Products: Best Trowels For Hardwood Floors

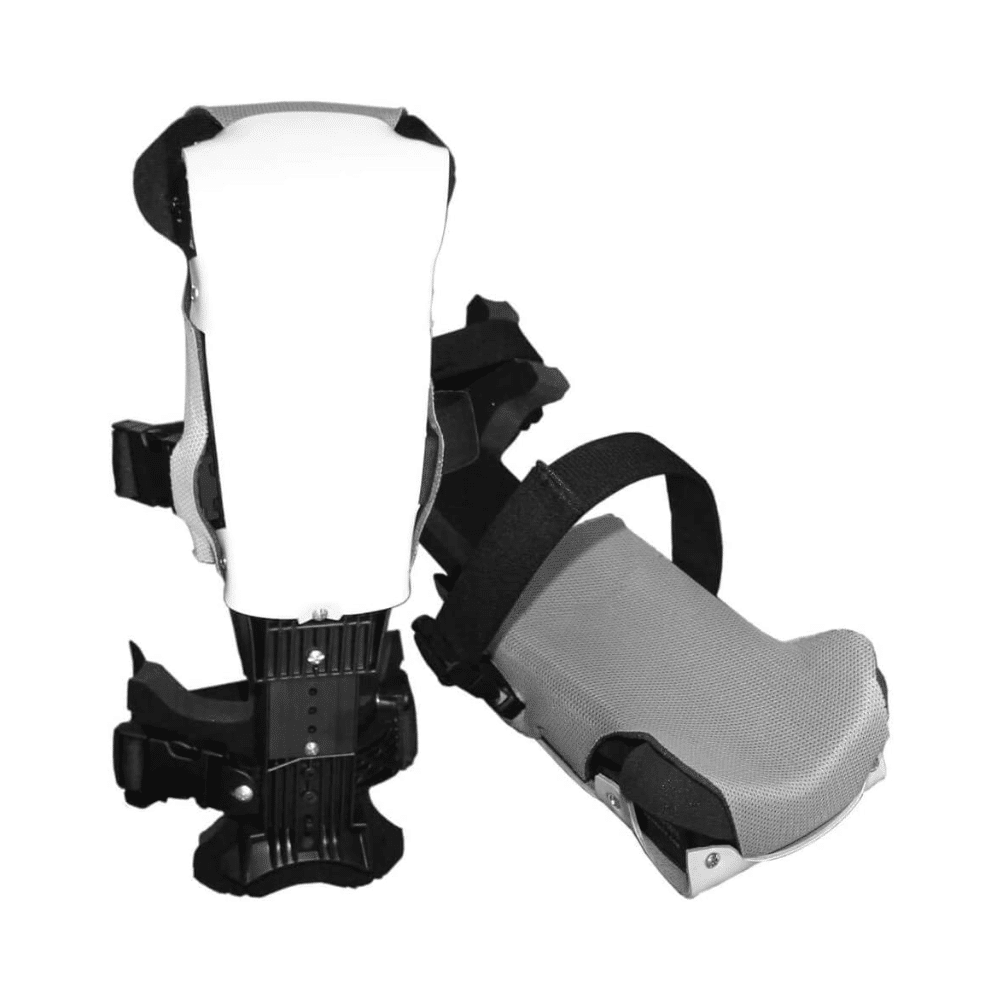
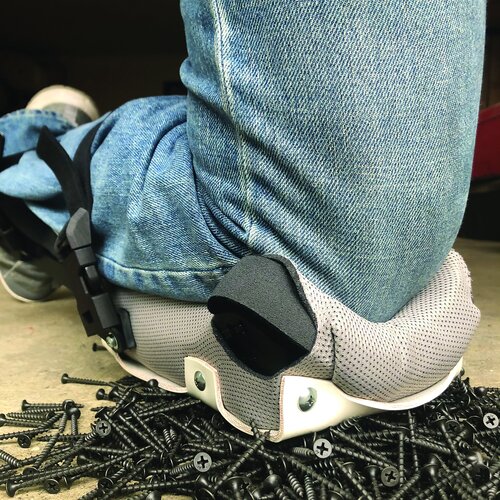
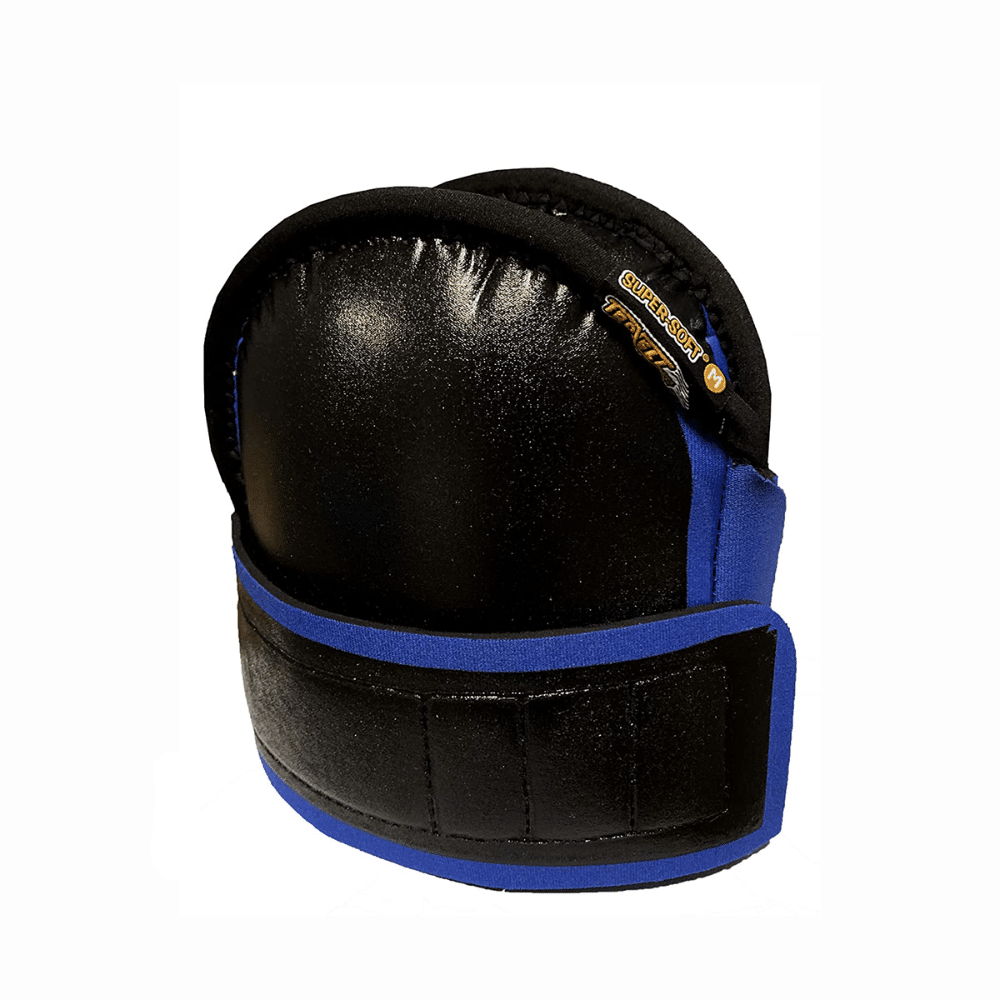
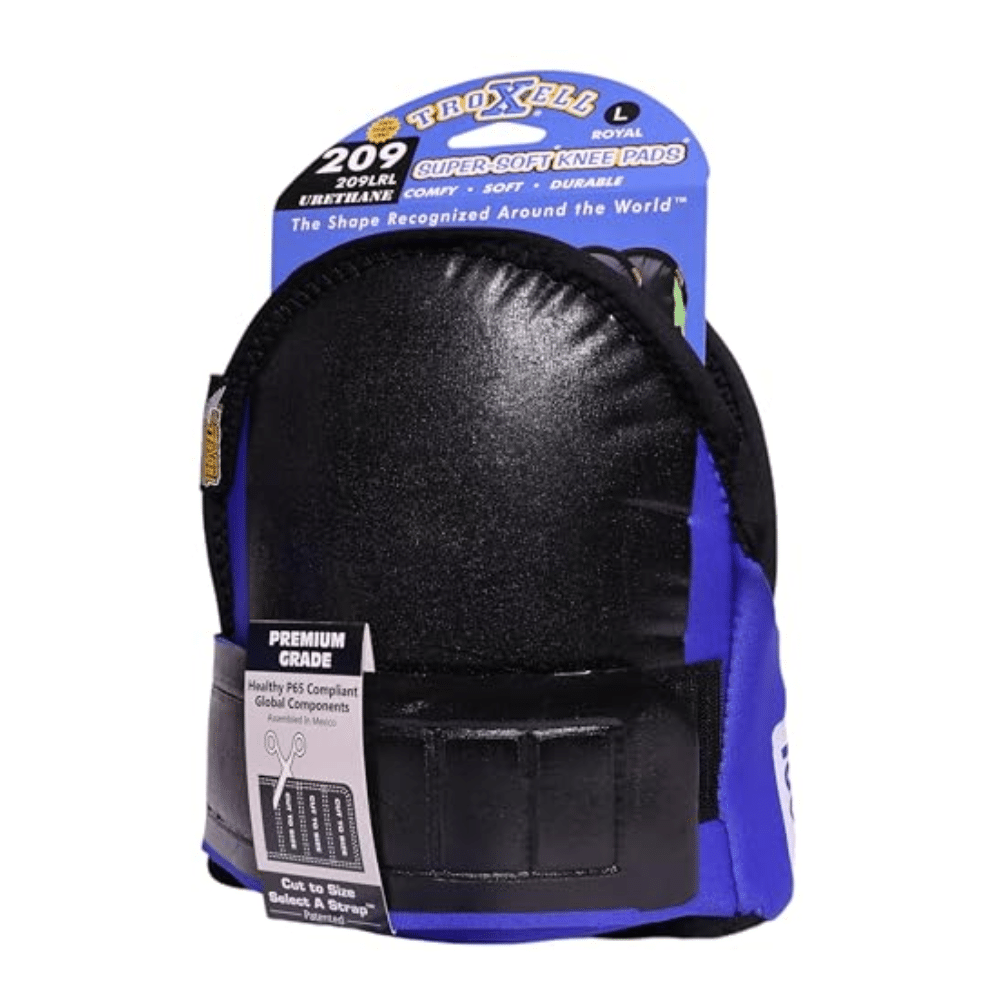
4. Knee Pads
Knee pads aren’t just for comfort. They’re essential for protecting your joints during long installations.
While not entirely necessary for DIY-ers performing one-off jobs (rather than professionals routinely installing hardwood), protecting your knees is important during any DIY task.
Hardwood floors take hours to install, and the process involves ample time spent moving around on your knees. Knee pads protect your knees, prevent pain, and can make installation faster.
Featured Products: Best Knee Pads For Installing Flooring


5. Strike Line Chalk and Spacers
You want to start off square when installing hardwood to ensure a seamless, straight installation. Chalk lines and spacers make this simple.
Maintaining a good expansion area is also crucial to allow the floor to expand and contract naturally as temperatures change.
For best results, leave an expansion gap equal to the thickness of your flooring around the perimeter of the room.
Featured Products: Best Prep Tools For Installing Hardwood
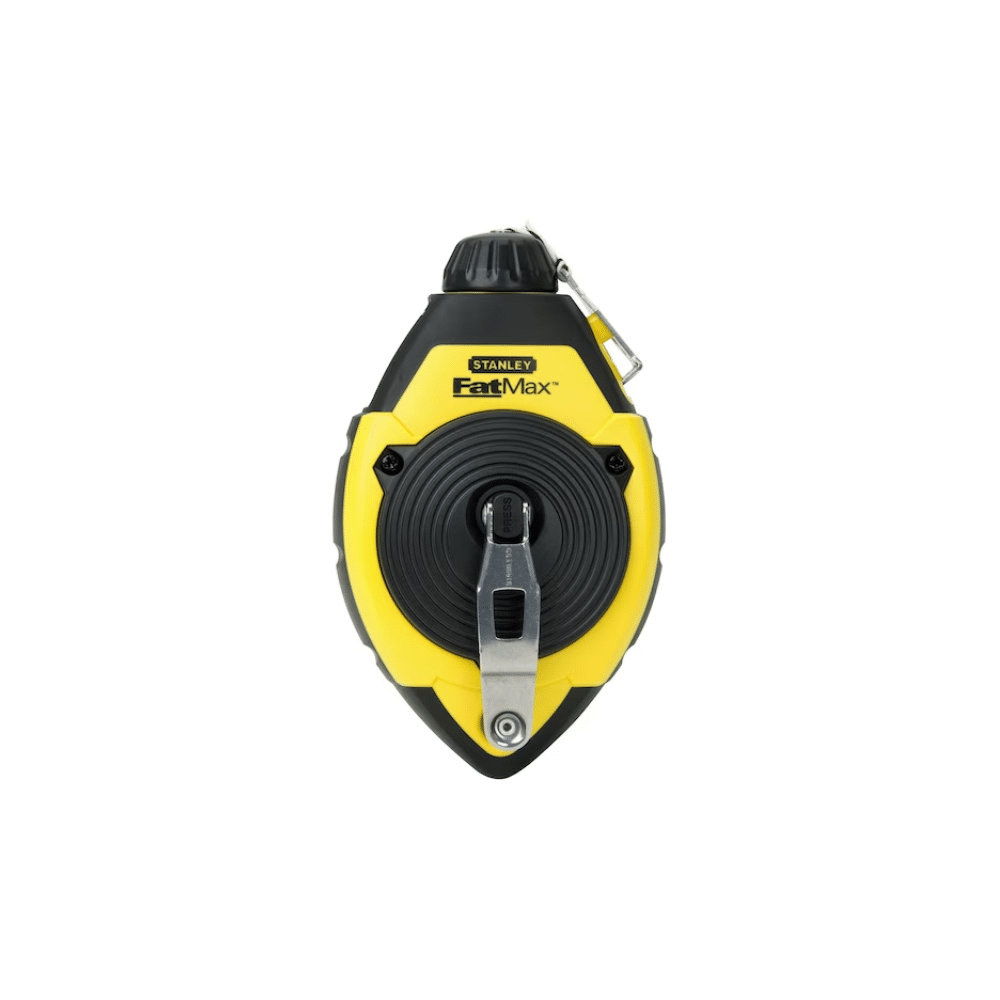
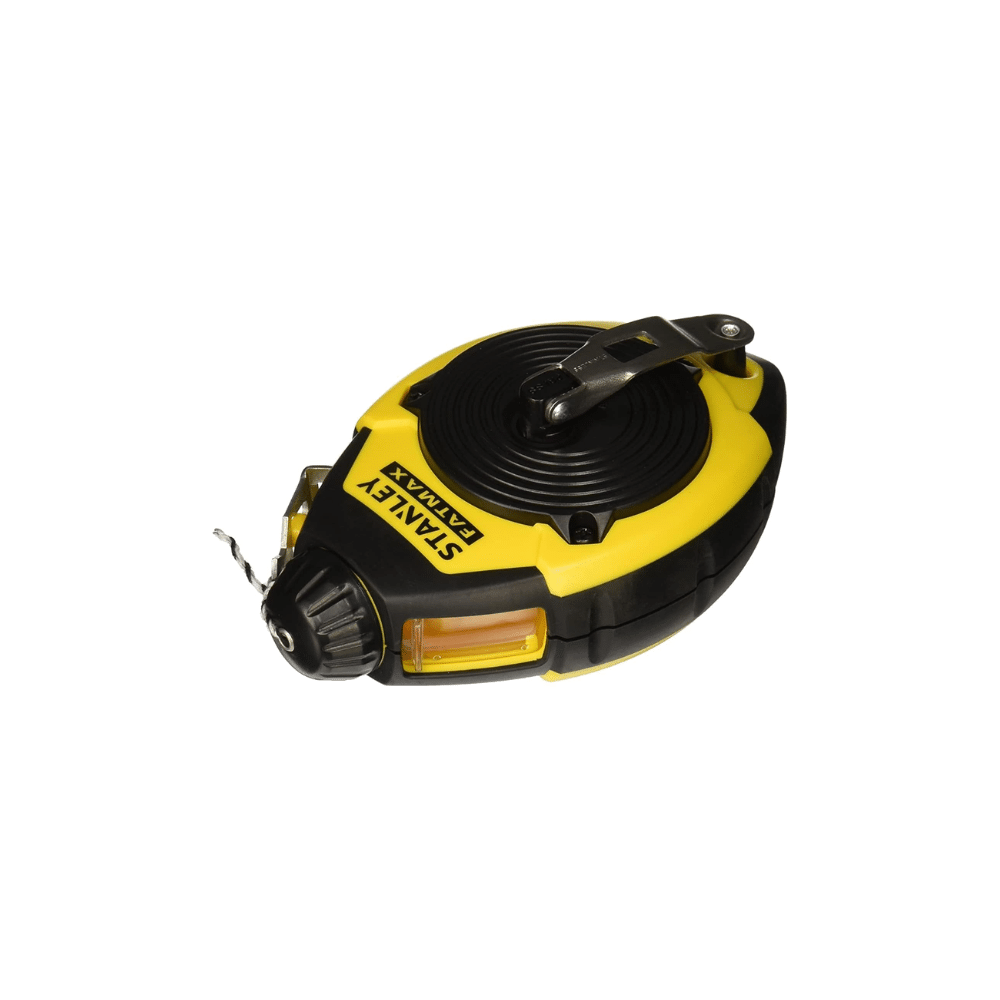


The Stanley 100-Foot FATMAX Chalk Line Reel features a water-resistant, high-impact ABS case with rubber grips, making it both extremely durable and easy to hold.
Key features:
- The 3:1 gear ratio gives you a rewind that’s three times faster.
- The chalk line has twice the tensile strength of traditional lines and lasts twice as long.
- A convenient locking button holds the string in place.
- The reel holds one 4-ounce bottle of Stanley Chalk, and an easy-to-access screw cap simplifies the chalk refilling.
- A long-wearing felt gasket on the reel hugs the line and distributes chalk coating evenly.
- A stainless-steel universal hook withstands heavy use, and the crank handle folds neatly into its case for storage and transit.
6. Moisture Testing Tools
Preparation is key to ensuring hardwood floors effectively bond to a subfloor and don’t warp, break, or become moldy over time. If the area doesn’t meet the required moisture levels, hardwood installation will fail.
A moisture meter is an essential hardwood floor installation tool to use before starting your project.
Check the required moisture levels of your hardwood (on the box) and use a testing kit to ensure the room meets the minimum required levels.
Pro tip: The NWFA recommends installers moisture test the flooring and subfloor before installation, and document the results to protect yourself against future liabilities (like home insurance claims).
FAQs
Do You Nail Hardwood Flooring in the Tongue or Groove?
When joining two separate boards on the same row, you should drive a fastener into the tongue at a 45-degree angle using a nailer powertool. This ensures the nail goes through the substrate, and allows the groove part of the board to slot into the tongue seamlessly.
When nailing into the tongue, stay within 2” of the butt end, which is where the tongue and groove meet. Avoid nailing more than 2” down from the butt end, as leaving a gap this size can cause movement after installation.
Is It Better to Glue Down or Float Wood Flooring?
Both gluing and floating hardwood are effective methods for securing solid wood flooring, but each option has its pros and cons.
We typically recommend gluing down hardwood flooring, but it depends on your subfloor and the type of hardwood flooring you’re installing.
Here’s a quick guide to the pros, cons, and things to remember:
Pros and cons of glue-down
- Gives a solid feel, prevents squeaking, has minimal deflection, and is the most permanent installation method.
- You can only glue down certain hardwood (check the label), and you can only do it over a concrete, plywood, or wood floorboard subfloor.
- You’ll need to properly prepare the surface to remove dirt and excess moisture, and ensure it’s level. Otherwise, installation will fail.
Pros and cons of a floating floor
- Floating floors can only be used when your flooring manufacturing guidelines approve. When both options are suitable, choosing a floating floor works well when planks run perpendicular to the floor joists.
- Installation costs can be lower, as there’s no need for materials like Luan, glue, or fasteners. It can also be quicker, with fewer steps to follow.
- Maintenance and repairs are quicker and easier when boards get damaged, but you have to be careful during daily use, as seams can split in high-traffic areas or when rolling heavy items on the floor.
Shop Flooring Installation Tools Today
Ready to install hardwood floors in your home? Shop our collection of hardwood installation tools today to find the right products for you.
Still browsing for the right hardwood floor? At Panel Town & Floors, we’re specialists in hardwood flooring, with exceptional styles, colors, and species of hardwood to choose from for your home.
Shop hardwood flooring today or try our flooring visualizer to see what styles work best in your room of choice!