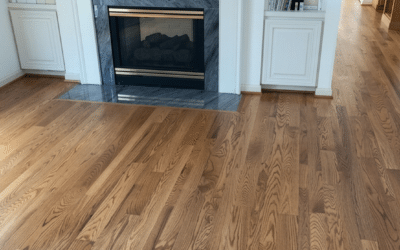
Acclimating solid hardwood flooring is a crucial step toward ensuring long-lasting performance.
When you properly acclimate the floor, it can last a lifetime. Get it wrong and you’re looking at callbacks from unhappy customers and thousands (or tens of thousands) of dollars in repairs.
In this article, you will learn about acclimation, why it matters, and how to do it effectively.
Looking for a home-owner friendly guide to hardwood floor care? Learn how to take care of your hardwood floors.
Understanding Wood and Moisture Content
Wood absorbs and releases moisture based on the humidity and temperature of its environment, causing it to swell, shrink, or even warp if conditions drastically change.
This moisture interaction is measured as Moisture Content (MC). MC measures how much water is in a material.
When wood travels from a dry climate to a humid one—or vice versa—its MC shifts rapidly to reach equilibrium with the surrounding environment.
When wood reaches equilibrium, it’s no longer gaining or losing moisture.
Here’s a couple of examples illustrating how moisture can affect wood floors:
- A solid oak floor in a humid environment expands to the point of buckling because it wasn’t acclimated.
- On the flip side, wood delivered from a moisture-heavy warehouse to a heated, low-humidity home shrinks, potentially creating gaps after installation.
Proper acclimation ensures the wood’s moisture content matches the environment it will live in.
How Hardwood Flooring is Like a Sponge
With a simple sponge analogy, you can quickly explain the importance of acclimation and long-term moisture management to your clients:
Picture a dry sponge with no water in it—this represents wood with low moisture content. When you add water, the sponge absorbs it, swells, and becomes heavier.
The same thing happens to wood.
When it absorbs moisture from the air or direct contact with water, it expands.
Now think of a sponge that’s already soaked with water.
This is like wood with high moisture content. If you leave the sponge out to dry, it loses water, shrinks, and becomes lighter. Similarly, when wood dries, it releases moisture and contracts.
This process of expanding and contracting causes wood to move, which can lead to warping, cracking, or swelling.
Why Acclimation Matters
Skipping acclimation or rushing the process can lead to nightmares down the line.
Here’s what can happen without proper acclimation:
- Cupping: Boards curl with the edges rising higher than the center.
- Crowning: Opposite of cupping, the center swells higher than edges.
- Buckling: Flooring lifts completely off the subfloor, breaking fasteners.
- Gaps: Spaces between boards appear after the wood shrinks post-installation.
When done correctly, acclimation will lead to stable flooring performance, a better experience for homeowners, and a lifetime floor.
Steps to Acclimate Solid Hardwood Flooring
Follow these essential steps to professionally acclimate your flooring materials for the best results.
1. Control the Environment
Before the flooring arrives, you must prep the job site. Double-check conditions, and make sure the building is fully enclosed.
Make sure that all wet work, such as painting and drywalling, are completed. And control temperature and humidity as if people are already living in the space.
Industry guidelines recommend maintaining 30-50% relative humidity and a temperature between 60–80°F.
Pro Tip: You may need temporary heating or dehumidification systems to stabilize the environment during extreme weather changes before you install the floor.
2. Test Moisture Content
Using a pin-type moisture meter, record the MC of the hardwood, subfloor, trim, and other surrounding wood.
This gives you a baseline for the equilibrium moisture content (EMC). For example, in humid regions like Louisiana, EMC might be around 11-13%, while arid areas like Arizona range closer to 6-8%.
The goal is to ensure the MC difference between the hardwood and subfloor is within 2% for planks 3” or wider, and 4% for planks narrower than 3”.
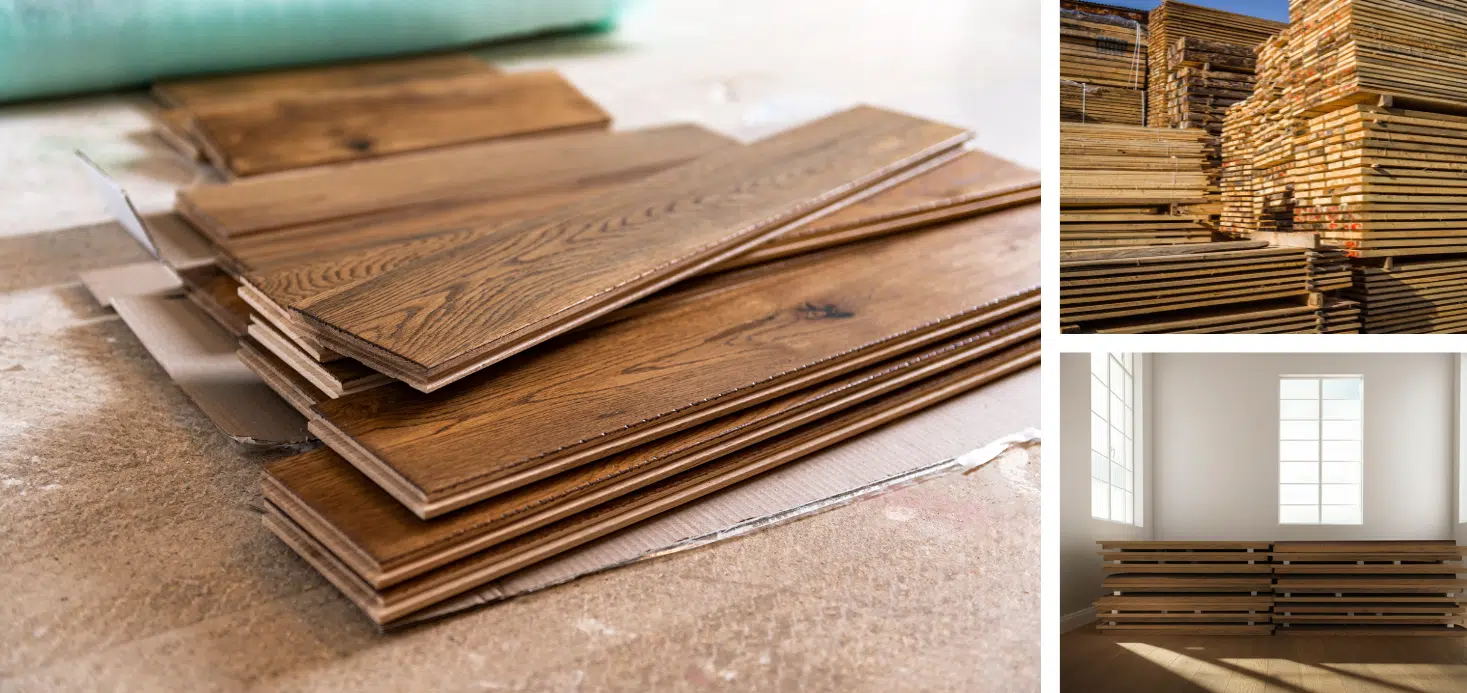
3. Condition the Materials
Once delivered, unpack the solid hardwood flooring. Open boxes and separate boards into smaller stacks with air gaps to promote air circulation.
This technique is known as cross stacking. Place wooden spacers (3/4–1 inch thick) between layers to further enhance air movement.
The Cross-Stacking Method
The cross-stacking method helps hardwood acclimate efficiently.
Why Cross-Stack?
- Full airflow reaches all surfaces, allowing moisture levels to stabilize evenly.
- Minimizes the risk of hidden pockets of humidity affecting boards differently.
When stacking, place the flooring perpendicular to spacers and maintain roughly one-foot high stacks. Make sure the stacks are at least 4 inches off the floor to prevent exposure to latent subfloor moisture.
Allow the boards to sit for 5-7 days, though longer may be required for extreme changes in climate.
Common Misconception: Some believe the wood just needs to sit unopened in the room for a few days. Always open the boxes and follow the cross-stacking principles.
4. Monitor and Confirm
Periodically test the MC of both the hardwood flooring and the subfloor until they reach equilibrium. Only move forward with the installation once the hardwood is acclimated.
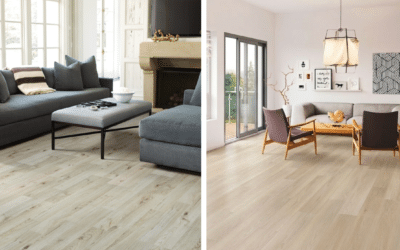
Does Engineered Hardwood Need to Acclimate?
Yes, most of the time, but it depends on the manufacturer’s guidelines.
Unlike solid hardwood, engineered hardwood is designed to be dimensionally stable. Its construction involves bonding a thin layer of real wood (the veneer) to multiple layers of plywood or high-density fiberboard (the core).
This layered structure minimizes the moisture-driven expansions and contractions that natural wood undergoes.
That said, whether engineered hardwood requires acclimation depends largely on the product specifications, manufacturer guidelines, and environmental conditions surrounding its installation.
Essential Tools for Moisture Testing
Be sure to have these tools for proper acclimation and moisture management on the job site:
- Moisture Meters: Pin-type meters for deep testing, and pinless meters for quick surface reads.
- Thermo-hygrometer: Measures room temperature and humidity.
- Spacer Sticks (3/4–1 inch thick): For efficient cross-stacking setups.
Moisture Management Tips for Long-Term Success
Even the best acclimation process can be undone if the conditions aren’t maintained afterwards. Here’s how to help clients (and yourself) protect their hardwood investment long-term:
- Educate Homeowners: Suggest they maintain 30-50% relative humidity with a dehumidifier or humidifier as needed, depending on the season.
- Monitor Subfloor Conditions: Ensure crawl spaces are ventilated and protected from ground moisture with vapor barriers.
- Avoid Propane Heaters on Job Sites: They release water vapor, throwing off acclimation efforts.
Conclusion
Properly acclimating solid hardwood flooring is a critical step in ensuring long-term performance.
By taking the time to prepare the site, monitor materials, and educate your customers, you can show your expertise and avoid costly issues, such as cupping, buckling, or gapping.
A professional acclimation process not only protects the integrity of the flooring but also reinforces your reputation for delivering high-quality results.
Next Steps
Once your floor is properly acclimated, you’re ready to install. Read about installation tips and techniques and how to sand a floor to perfection.
You can also reach out to our flooring pro Doug in the chat.